This guide will help you whitelist your IP address, making sure you can access your proxy services without having to enter your credentials again and again.
Point to Remember
- Authentication: Requires Basic Authentication (using a username:password encoded in Base64).
- IP Limits: A user can whitelist a maximum of 150 IPs in total.
- Request Limit: Each request can include up to 10 IP addresses to add or remove.
- Validation: The API enforces checks to prevent invalid or duplicate IPs
- Rate Limit: You can make up to 100 requests per minute.
How to Add an IP to the Whitelist
You can whitelist an IP using:- The Dashboard (Recommended for non-developers)
- The API (For programmatic control)
Using Dashboard
Let’s first do this using the provided dashboardAdd IP Addresses
-
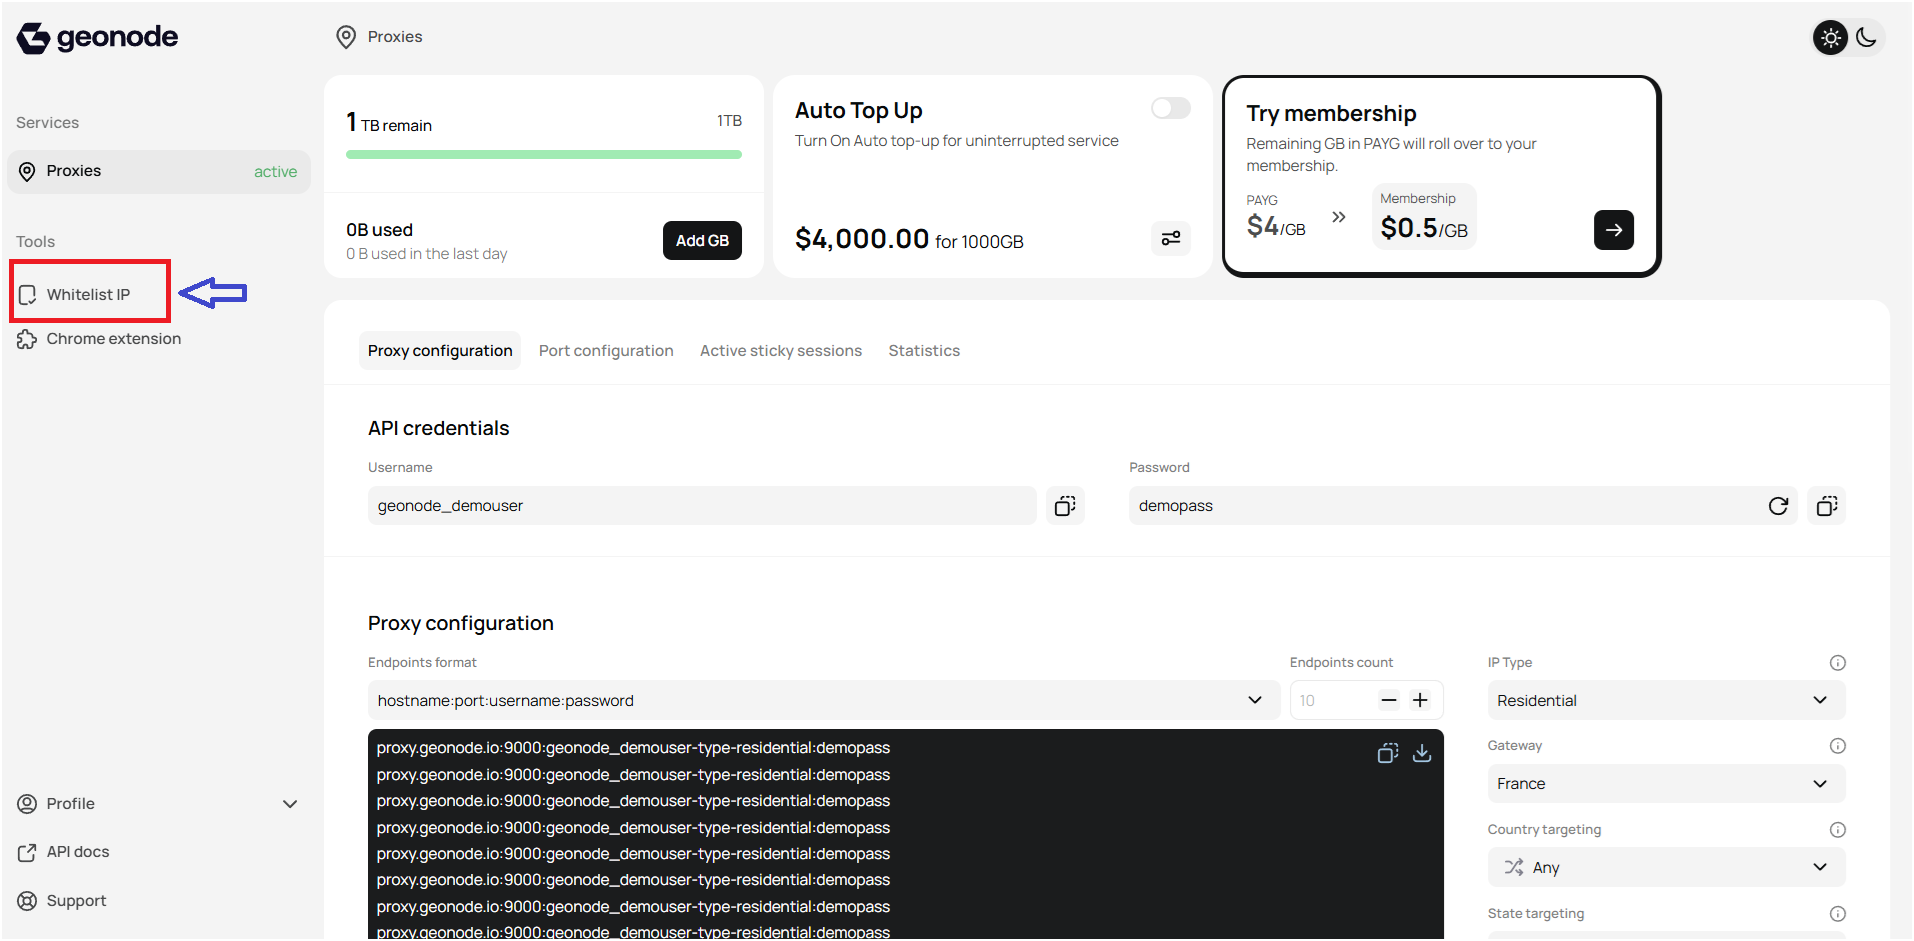
Navigate to IP Whitelist Settings:
- Look for a section labeled “Whitelisted IPs” in the settings menu.
-
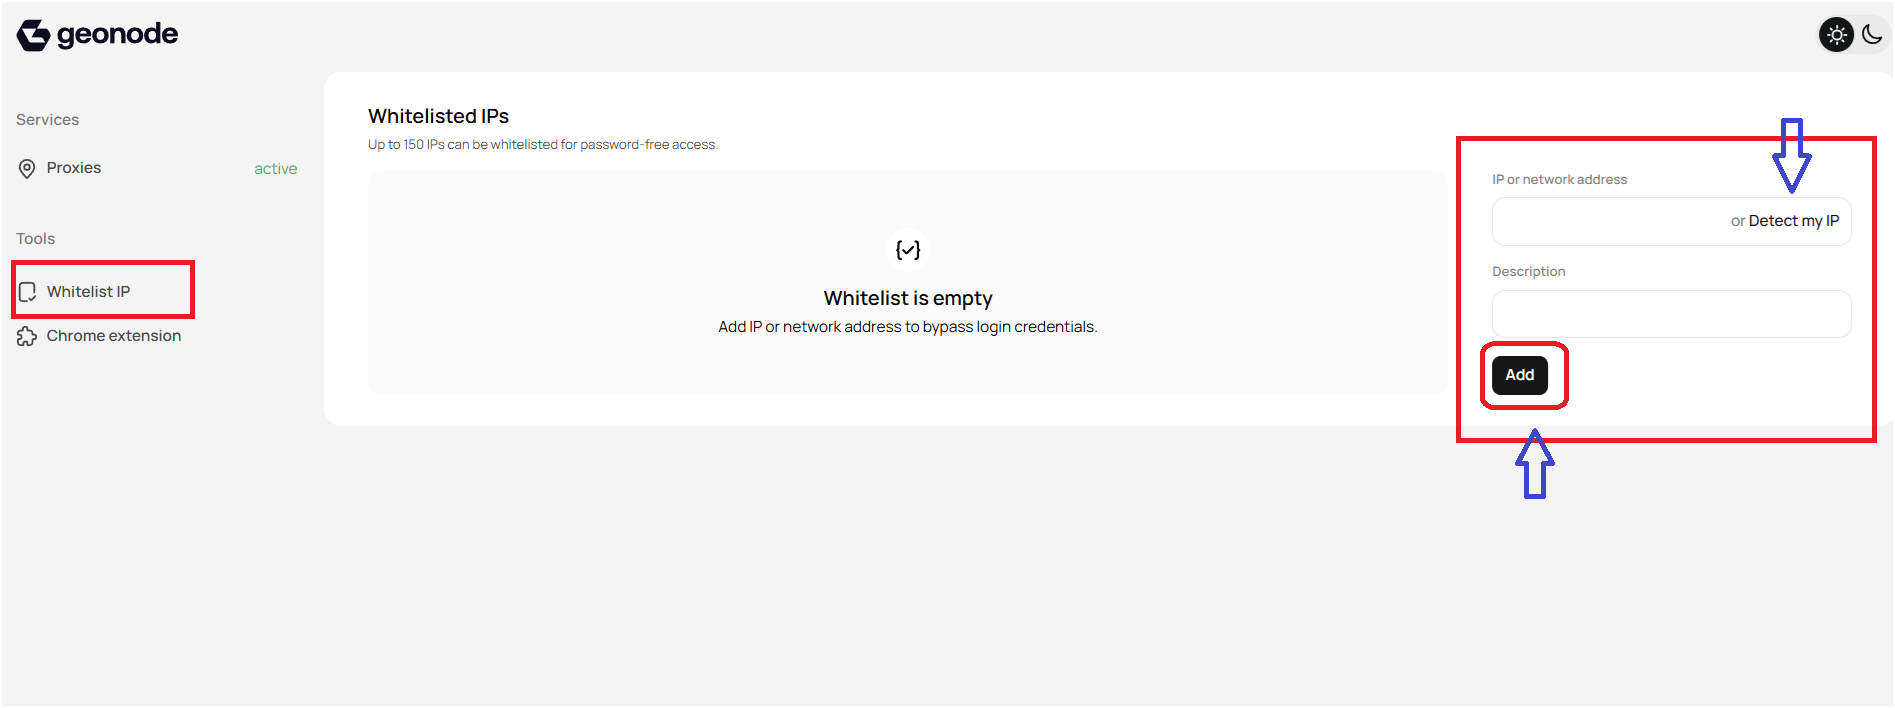
Add an IP Address:
- Enter the IP address you want to whitelist in the provided field or For quick setup, use the
- “Detect My IP” button to automatically add your current IP..
- Optionally, add a description (e.g., Home, Office, Server) for easy identification.
- Click the “Add” button to save the IP.
-
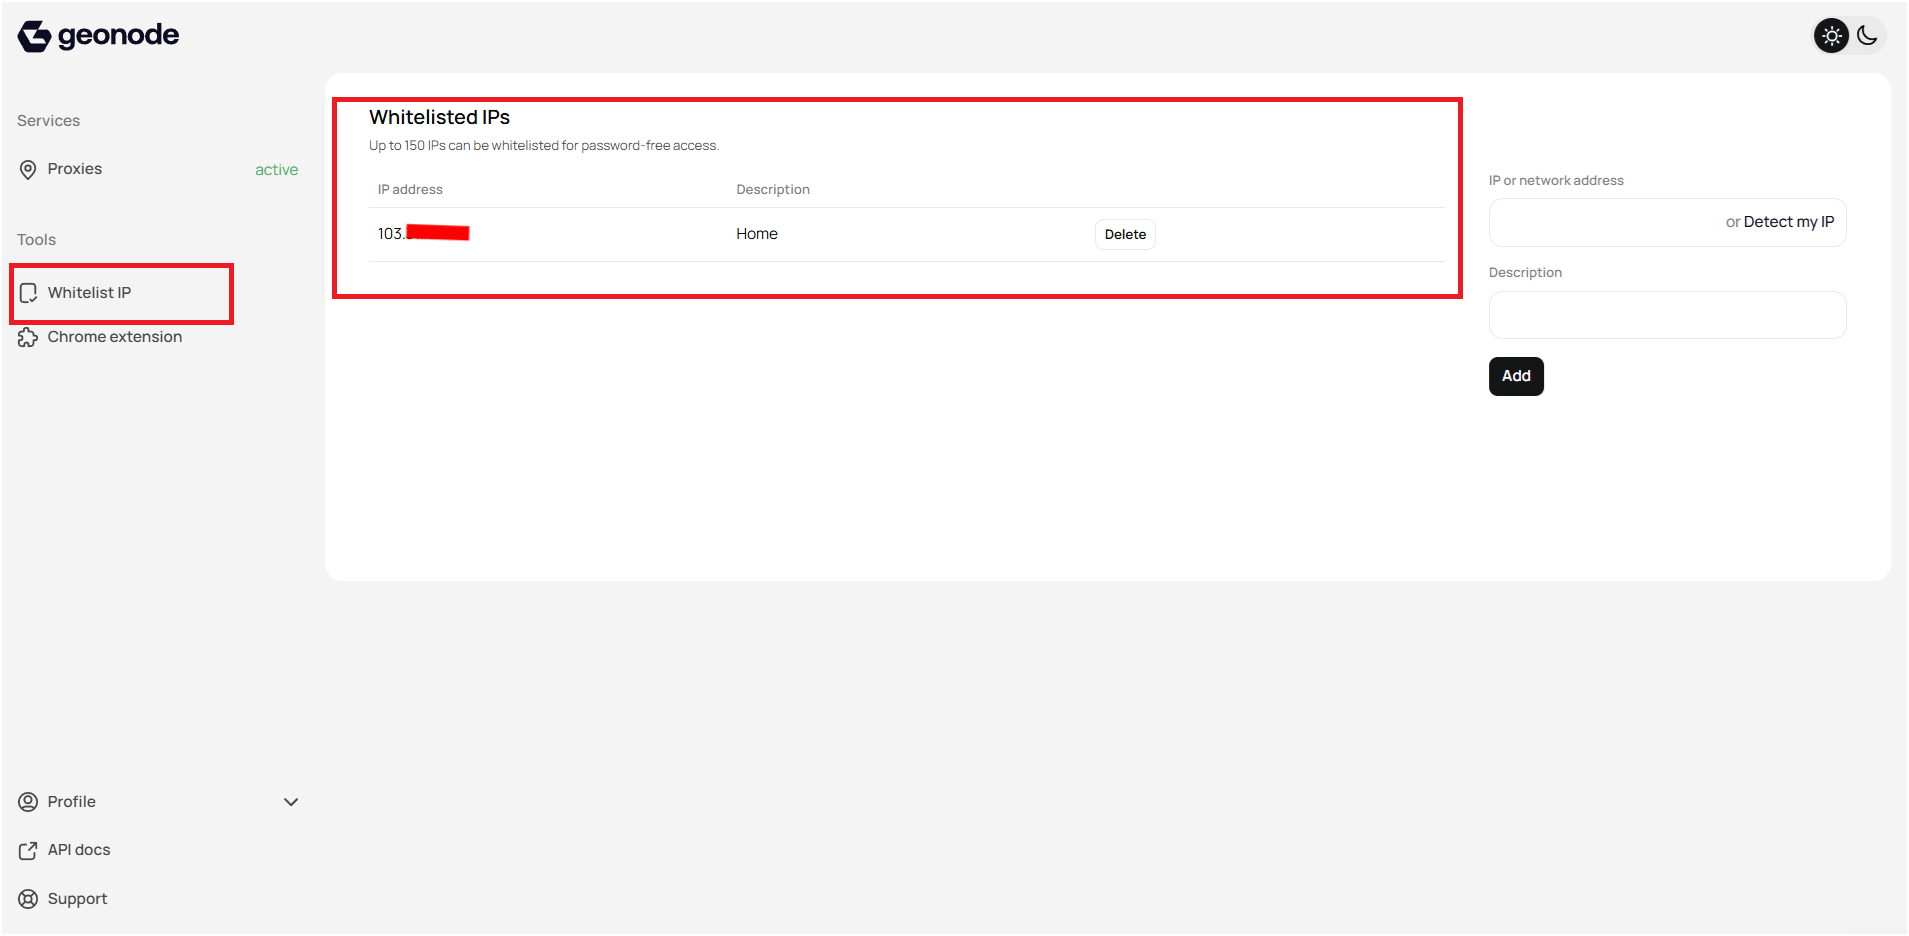
Verify the IP:
- Ensure the IP appears in the whitelist table with the correct details
- Ensure the IP appears in the whitelist table with the correct details
Remove an IP
- Locate the IP: Find the IP address in the whitelist section.
- Click “Delete”: Press the “Delete” button next to the IP you want to remove.
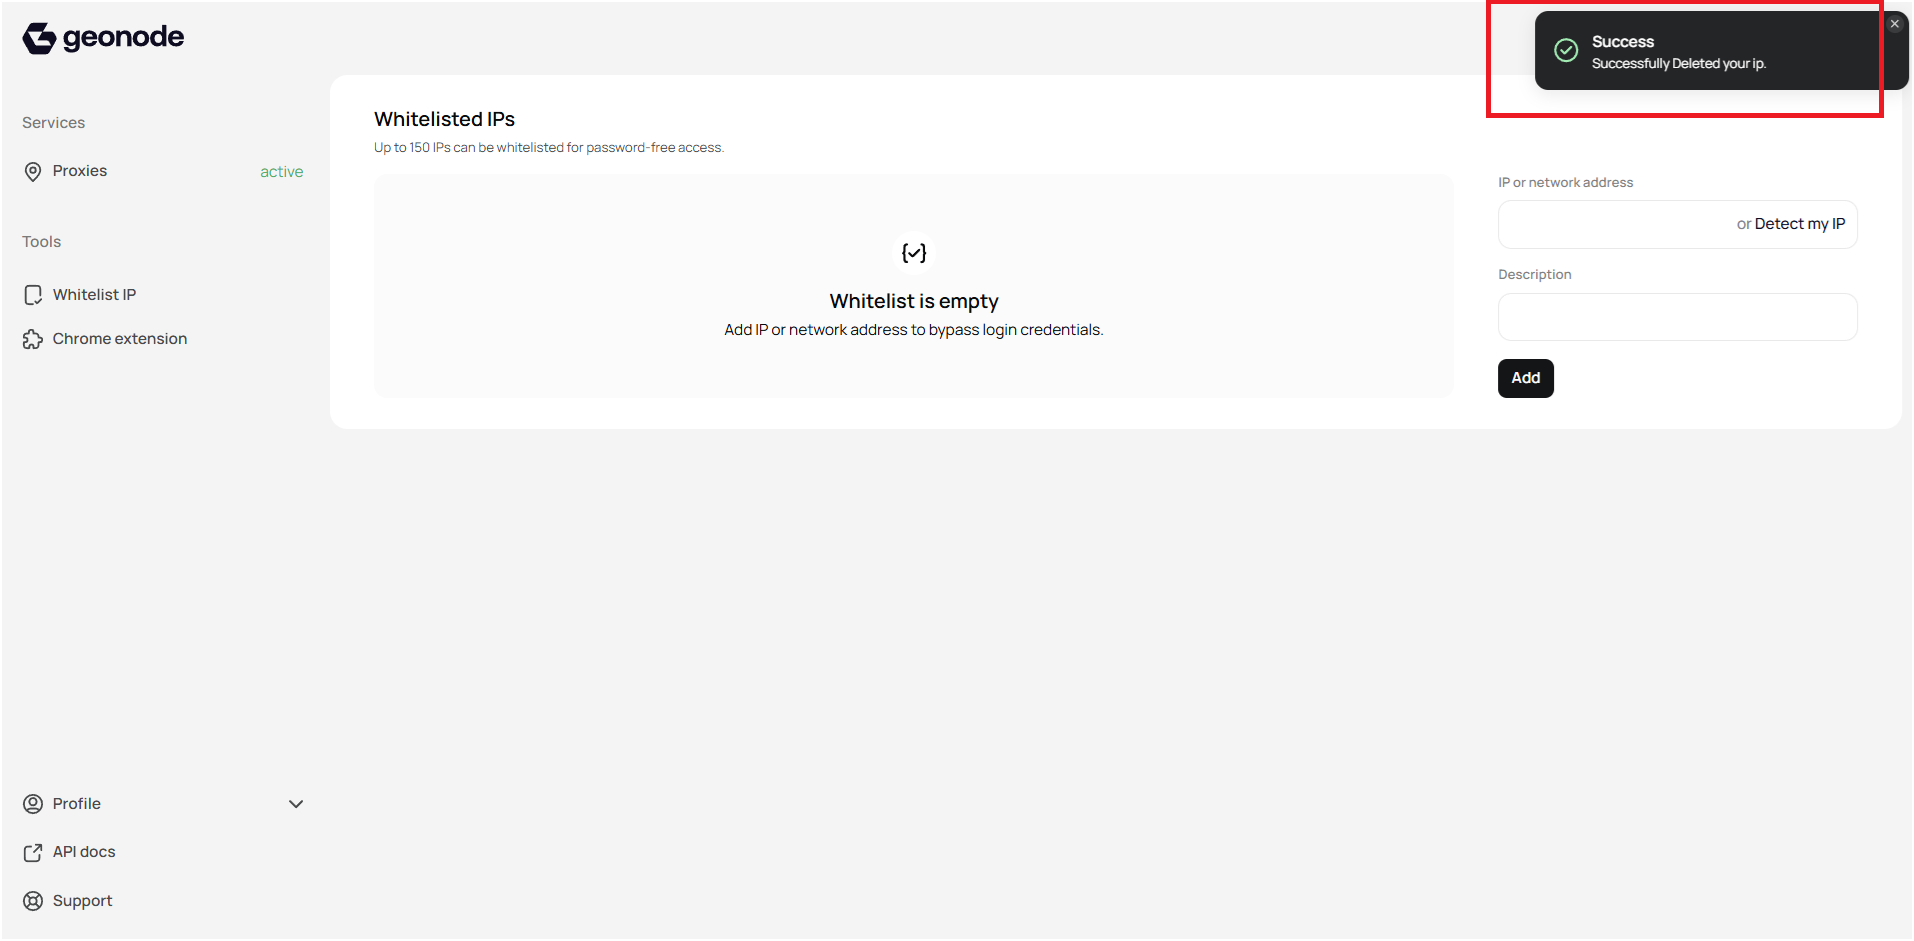
-
Verify Deletion: Check notification
Using API
Geonode provides APIs to manage your whitelisted IPs programmatically. You can perform the following actions:-
Retrieve Whitelisted IPs
get -
Add Whitelisted IPs
post -
Update Whitelisted IP Description
put -
Remove Whitelisted IPs
delete
Verify Proxy Connection
To ensure the proxy is working, check your IP address using an online tool or follow this guide:If you encounter any issues, refer to the troubleshooting section or Geonode support.
FAQs
Why do I need to authenticate when adding IPs??
Why do I need to authenticate when adding IPs??
Basic Authentication is required to ensure the security of the system. You must encode your username and password in Base64 to authenticate the request.
Can I automate IP whitelisting?
Can I automate IP whitelisting?
Yes, you can use the Geonode API to automate the process of adding, updating, and removing whitelisted IPs.
What happens if I exceed the IP whitelist limit?
What happens if I exceed the IP whitelist limit?
If you try to whitelist more than 150 IPs, the system will reject the request. Make sure to stay within the limit.
What if I entered the wrong IP address?
What if I entered the wrong IP address?
You can easily remove or update the IP address using the Dashboard or API. If using the Dashboard, simply delete the IP and add the correct one. The API allows you to manage the list programmatically
Why do I need to whitelist my IP?
Why do I need to whitelist my IP?
- Whitelisting your IP ensures that your device or network can access the proxy without needing to enter credentials every time. When your IP is whitelisted, you can access services seamlessly, as the system recognizes your IP as trusted.
- Without whitelisting, you will be prompted to enter your authentication credentials each time you attempt to connect, which can be inconvenient and time-consuming.