Docker MCP
Docker provides two ways to use the Geonode MCP Server.
- Docker Desktop provides a graphical interface for managing MCP servers and AI clients.
- Docker CLI runs a lightweight MCP bridge directly from the terminal.
Choose the option that best fits your workflow.
Before you begin
Make sure you've completed the Before You Start guide and have:
- A Geonode API key
- The Geonode MCP endpoint
- Docker installed
Option 1 — Docker Desktop
Docker Desktop includes the MCP Toolkit, which allows you to manage MCP servers and connect them to supported AI clients.
Step 1 — Install Docker Desktop
Download and install Docker Desktop for your operating system.
Launch Docker Desktop and ensure the Docker Engine is running.
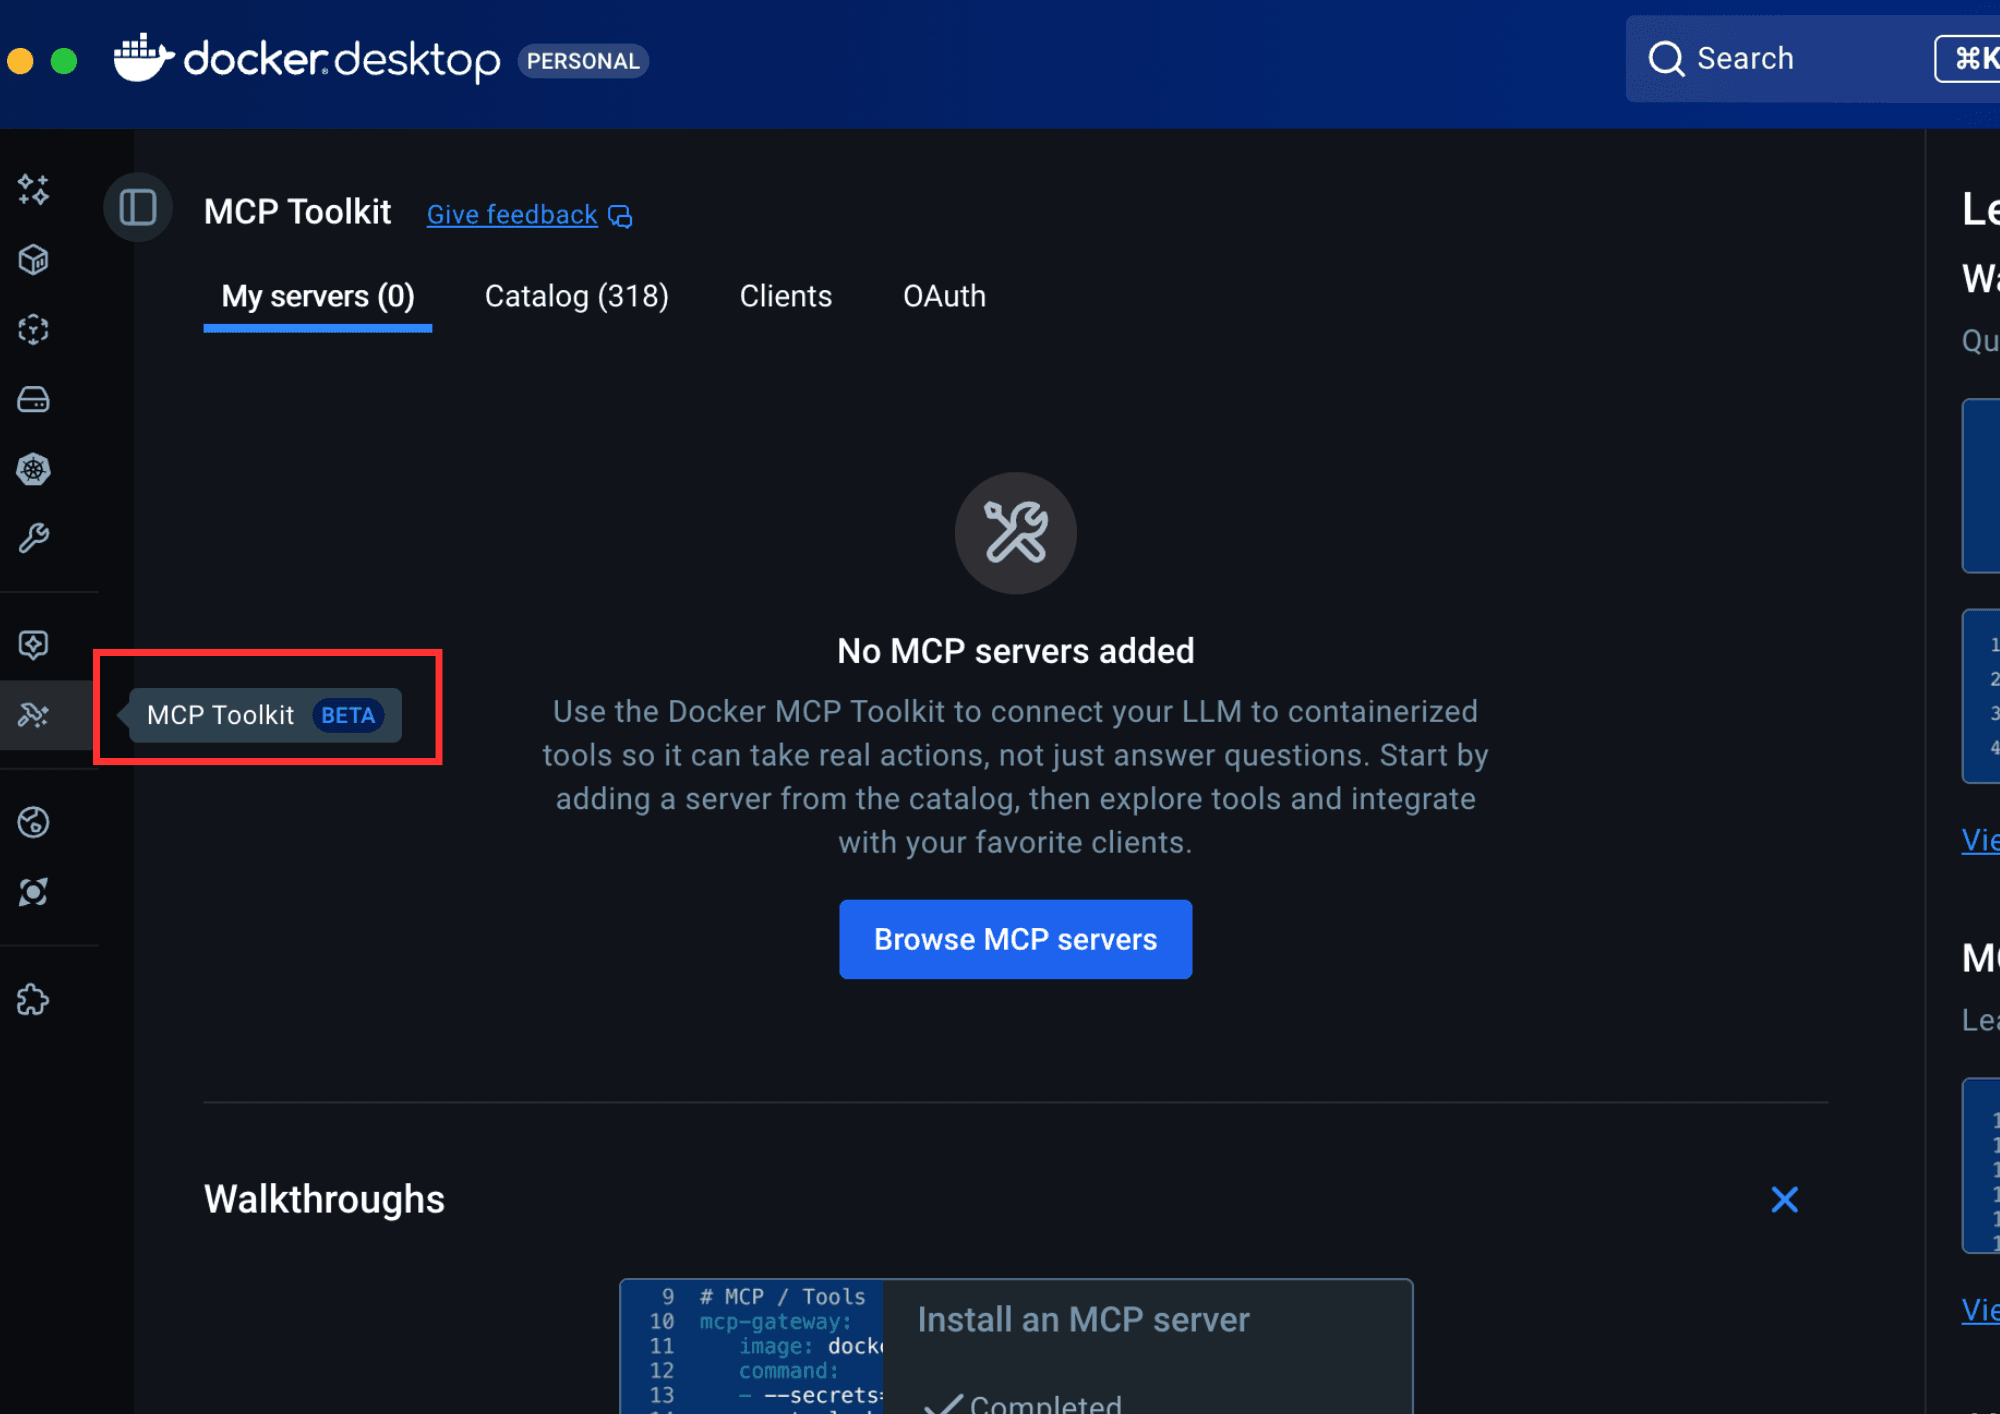
Step 2 — Open the MCP Toolkit
From the Docker Desktop sidebar, open:
Models → MCP Toolkit
This is where Docker manages MCP servers and connected AI clients.
Step 3 — Connect Your AI Client
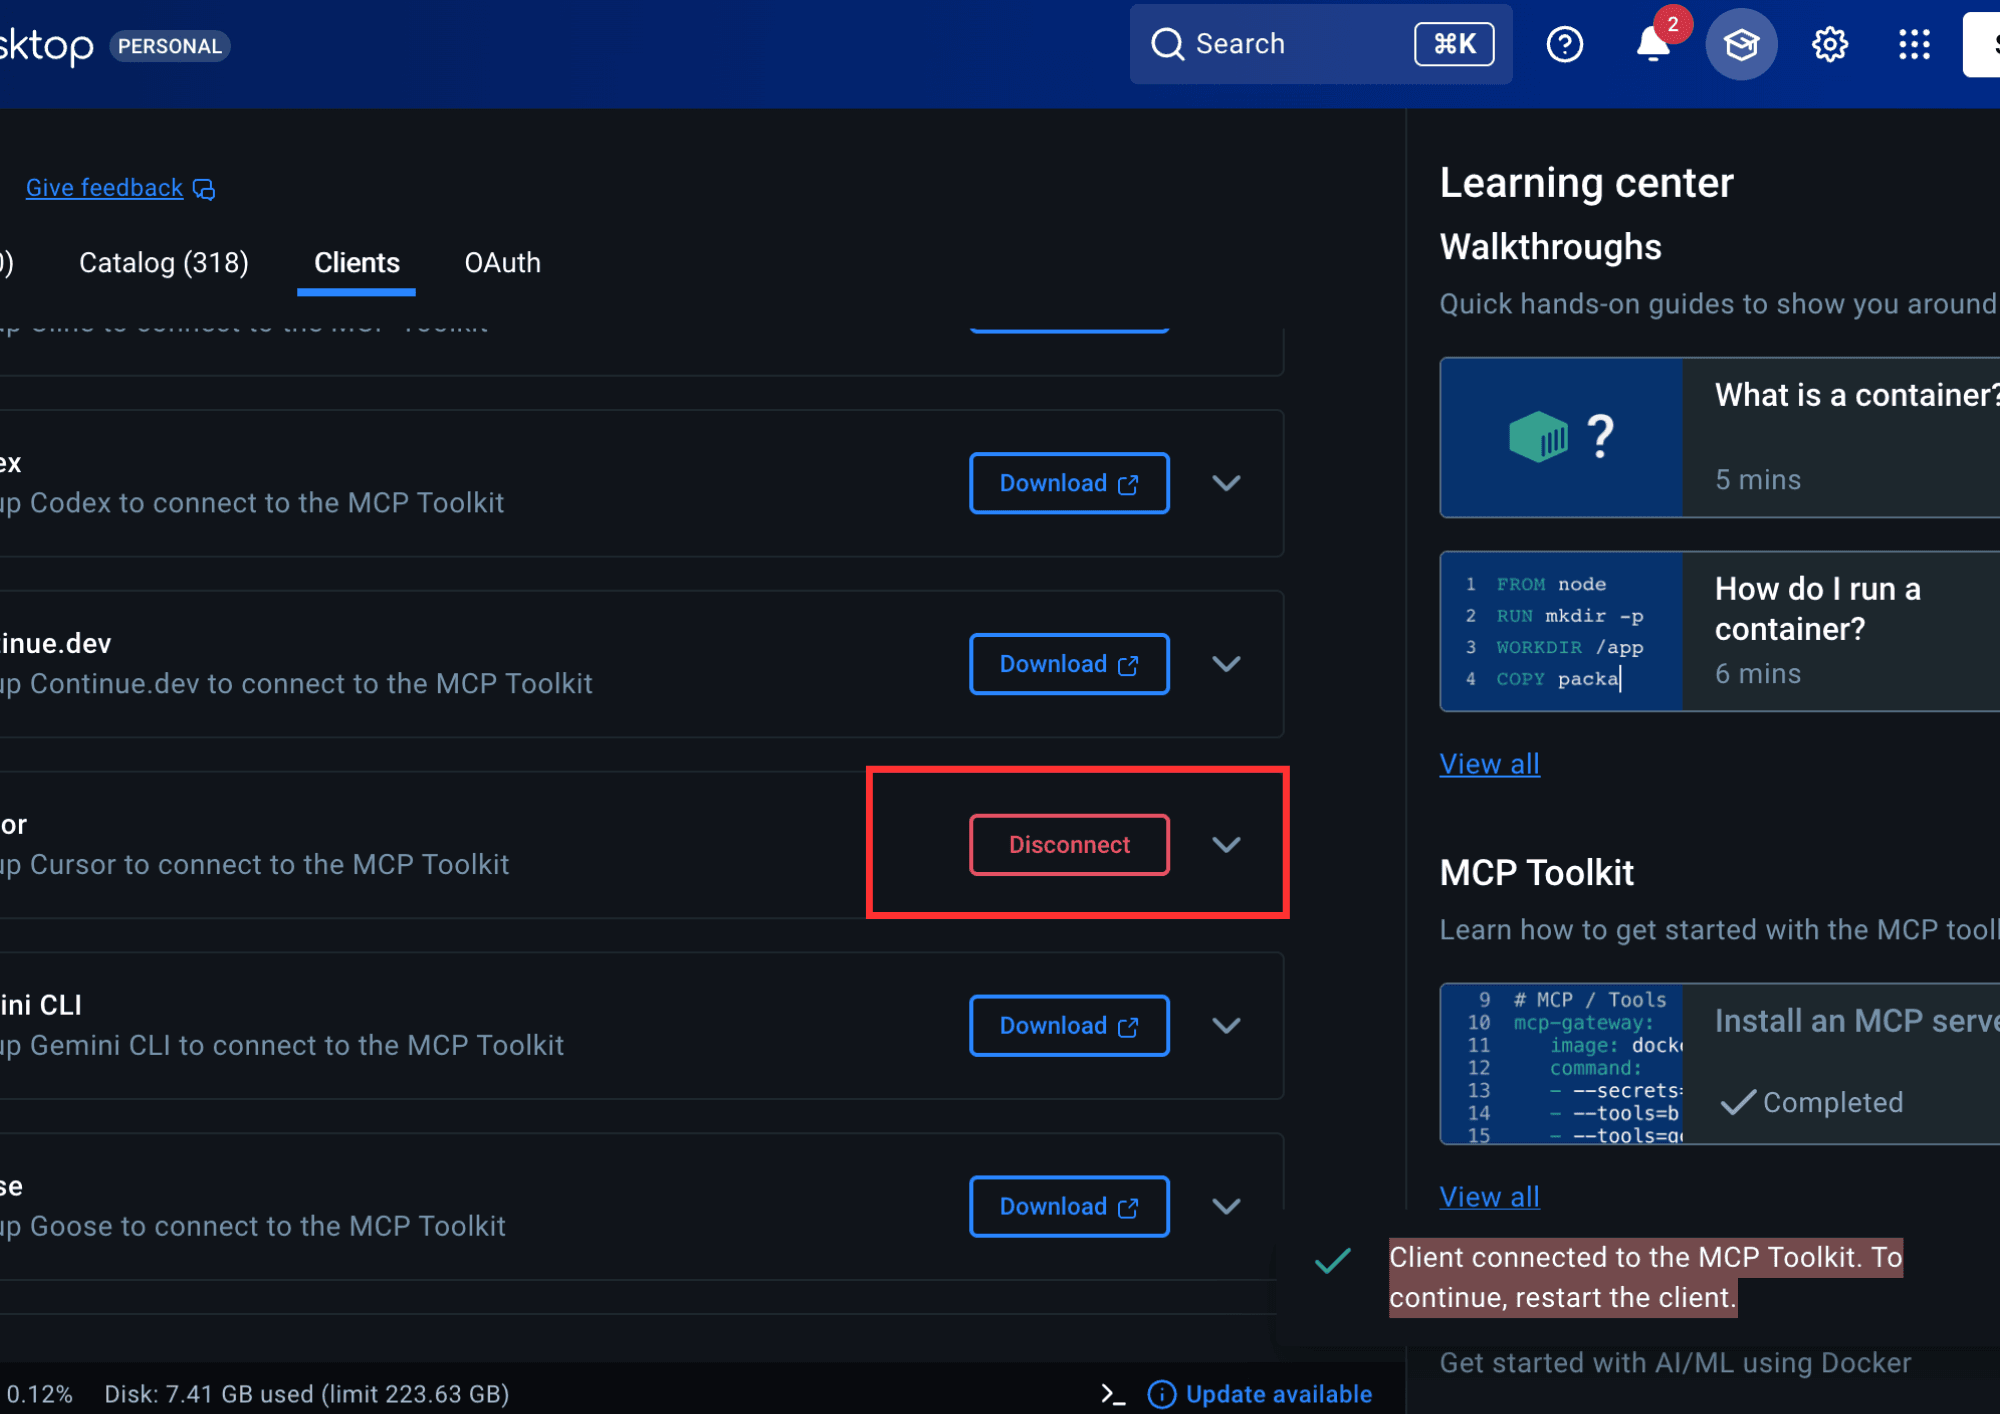
Open the Clients tab.
Choose the AI client you want to use.
For example:
- Cursor
- Continue.dev
- Codex
- Gemini CLI
- Goose
Click Connect next to your client.
Docker configures the client to communicate with the MCP Toolkit.
Step 4 — Restart Your AI Client
After connecting the client, restart it.
Once restarted, Docker automatically exposes the configured MCP servers to the client.
Step 5 — Verify the Connection
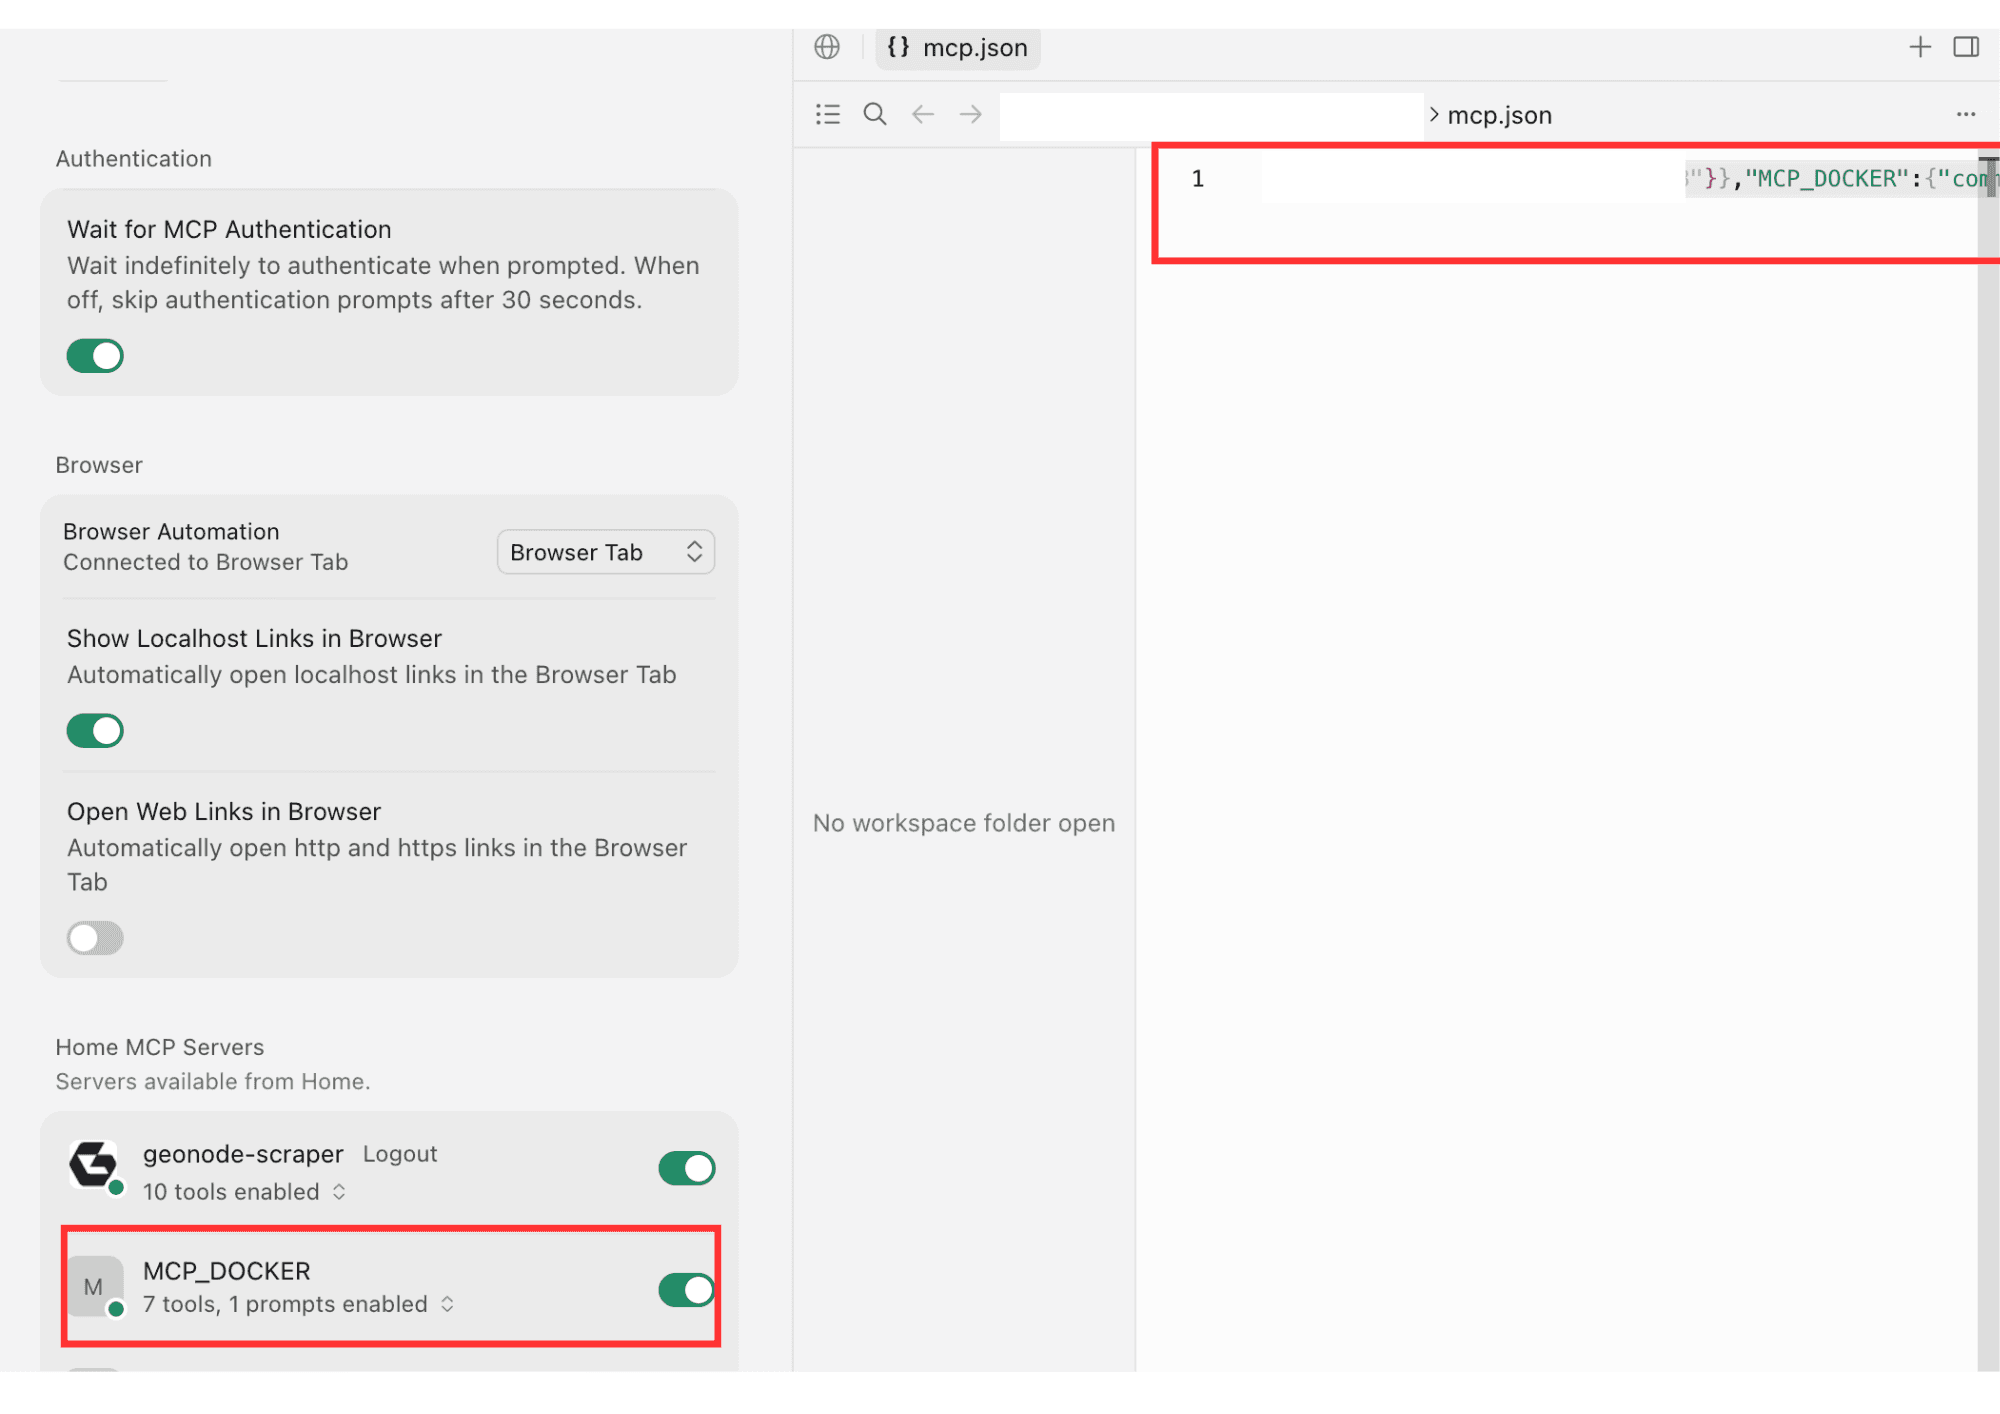
Open your AI client's MCP settings.
You should see:
- a green status indicator
- the configured MCP server
- the available Geonode tools
Option 2 — Docker CLI
If you prefer using the terminal, Docker can run a lightweight MCP bridge without any additional installation.
Step 1 — Verify Docker
Open a terminal.
Run:
docker --versionIf Docker is installed correctly, the installed version is displayed.
Step 2 — Start the MCP Bridge
Run:
docker run -i --rm \
  -e GEONODE_API_KEY=YOUR_API_KEY \
  node:20-alpine \
  npx -y mcp-remote https://scraper.geonode.io/mcp \
  --header "X-Api-Key:${GEONODE_API_KEY}"
Replace YOUR_API_KEY with your Geonode API key.
This command:
- starts a temporary Docker container
- downloads
mcp-remote - connects to the Geonode MCP Server
- creates a local MCP bridge over STDIO
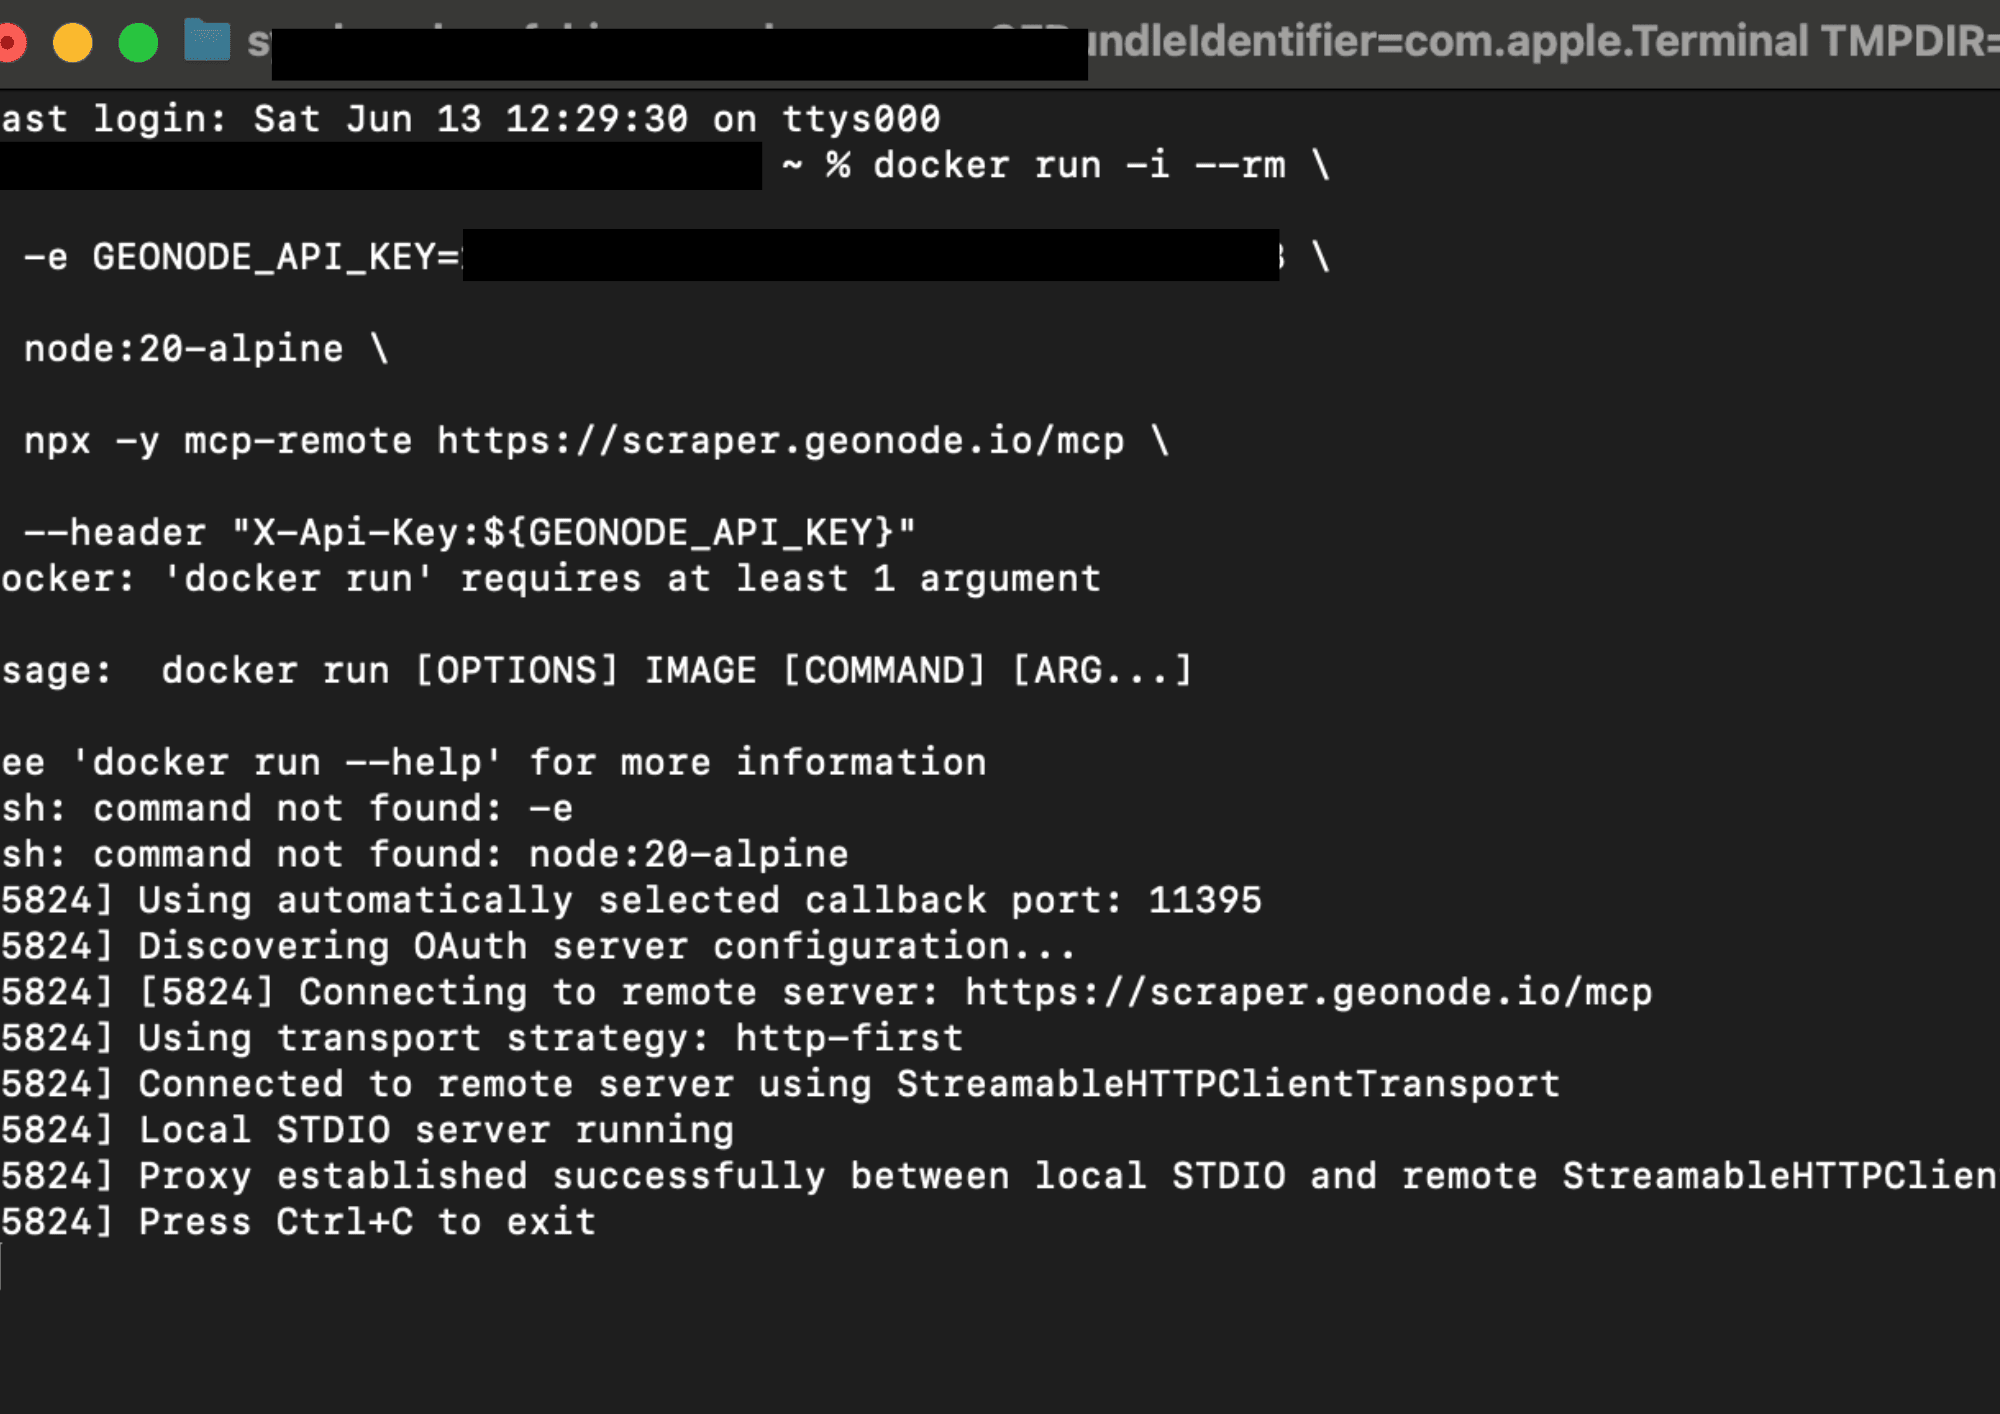
Step 3 — Verify the Bridge
When the bridge starts successfully, you'll see output similar to:
Using transport strategy: http-first
Connected to remote server using StreamableHTTPClientTransport
Local STDIO server running
Proxy established successfully
Press Ctrl+C to exit
The bridge is now ready to receive requests.
Step 4 — Configure Your AI Client
Configure your AI client to use the local Docker bridge.
Once connected, the client automatically gains access to the available Geonode MCP tools.
Start Using Geonode MCP
You can now ask your AI assistant to perform tasks such as:
Extract a web page
Extract the content from https://geonode.comSummarize a page
Summarize https://geonode.comCrawl a website
Crawl https://docs.geonode.comProcess multiple pages
Extract and summarize these URLs:

https://example.com/page1
https://example.com/page2
https://example.com/page3
View extraction statistics
Show my Geonode extraction statistics.Stopping the Docker Bridge
To stop the Docker bridge, press:
Ctrl + CSince the container is started with the --rm flag, Docker automatically removes it after it exits.
FAQ
Was this page helpful?