iOS
Prerequisites: Get Proxy Credentials from Geonode
Before setting up a proxy, first, retrieve your proxy credentials from the Geonode dashboard.
Follow this guide: How to Obtain Proxy Server Information
Step-by-step setup for iOS
Follow these steps to configure your proxy manually:
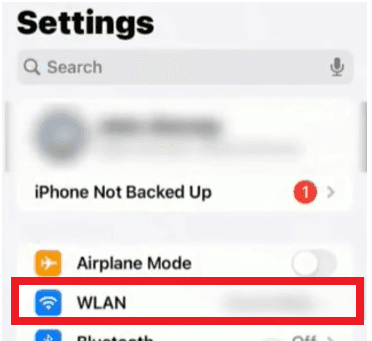
Step 1 — Open iPhone Settings
- Open the Settings app.
- Tap Wi-Fi to view available networks.
Step 2 — Access Wi-Fi Network Settings
- Connect to the Wi-Fi network you want to configure.
- Tap the “i” icon next to the connected network.
![]()
Step 3 — Navigate to Proxy Settings
-
Scroll down to the HTTP Proxy section.
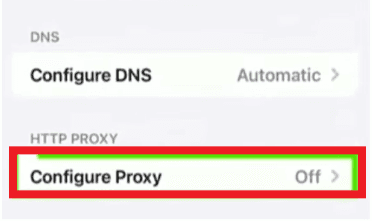
-
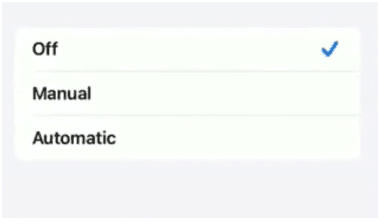
You will see three options:
- Off — disables proxy
- Manual — enter proxy details manually
- Automatic — configure using a PAC file
Select Manual for your Geonode proxy setup.
Step 4 — Enter Proxy Details
- Under Manual Proxy Configuration, fill in:
- Server: Proxy IP address
- Port: Port number from your Geonode Dashboard
- If authentication is required, enable Authentication and enter your username and password.
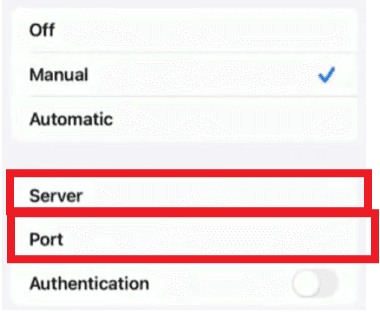
- Tap Save to apply the settings.
Once the proxy server is set up, some apps (like Chrome or other system programs) may ask for proxy authentication — your proxy username and password.
This is required to continue using the proxies.
If you prefer not to enter credentials manually, you can whitelist your IP instead.
See: How to Whitelist an IP
Verify Proxy Connection
To ensure the proxy is working, check your IP address using an online tool or follow this guide:
If you encounter any issues, refer to the troubleshooting section or Geonode support.