Whitelist IP
Whitelisting your IP lets you access proxy services without re-entering credentials each time.
Key limits and requirements
- Authentication: Basic Auth (username:password encoded in Base64).
- IP limit: up to 150 whitelisted IPs per user.
- Batch size: up to 10 IPs per request (add/remove).
- Validation: the API rejects invalid or duplicate IPs.
- Rate limit: up to 100 requests per minute.
Add an IP to the whitelist
You can use either the dashboard (recommended for non-developers) or the API.
Using the dashboard
Add IP addresses
-
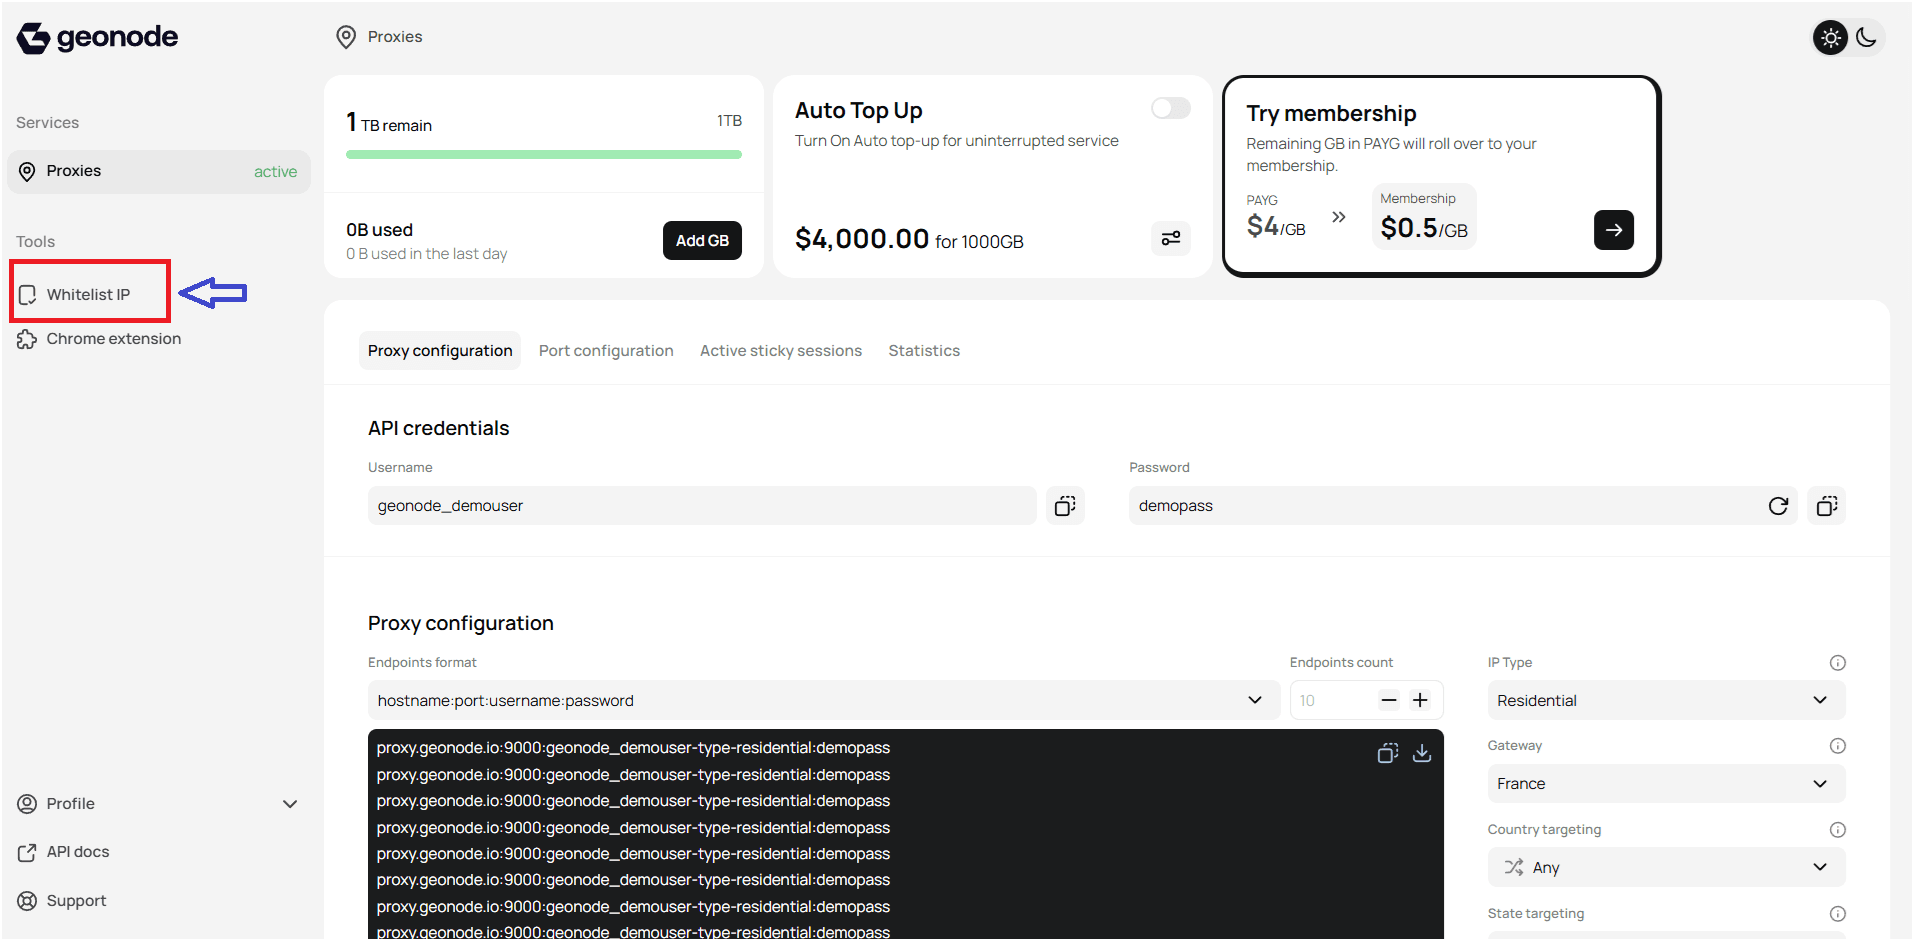
Open Whitelisted IPs in settings.
-
Enter the IP to whitelist. For a quick setup, click Detect My IP.
Optionally add a description (e.g., Home, Office, Server). Click Add.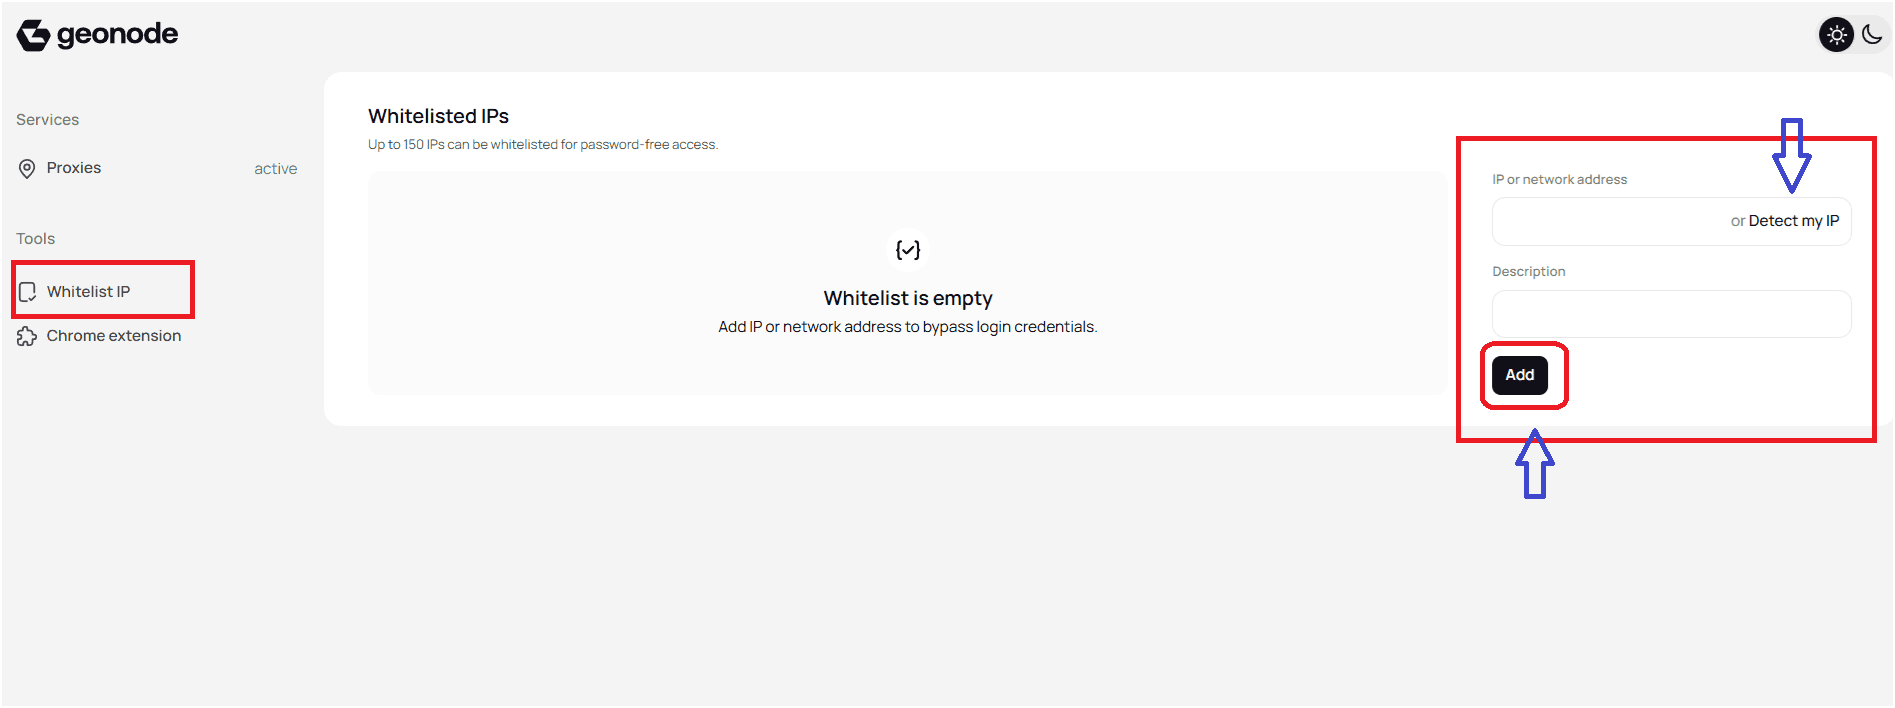
-
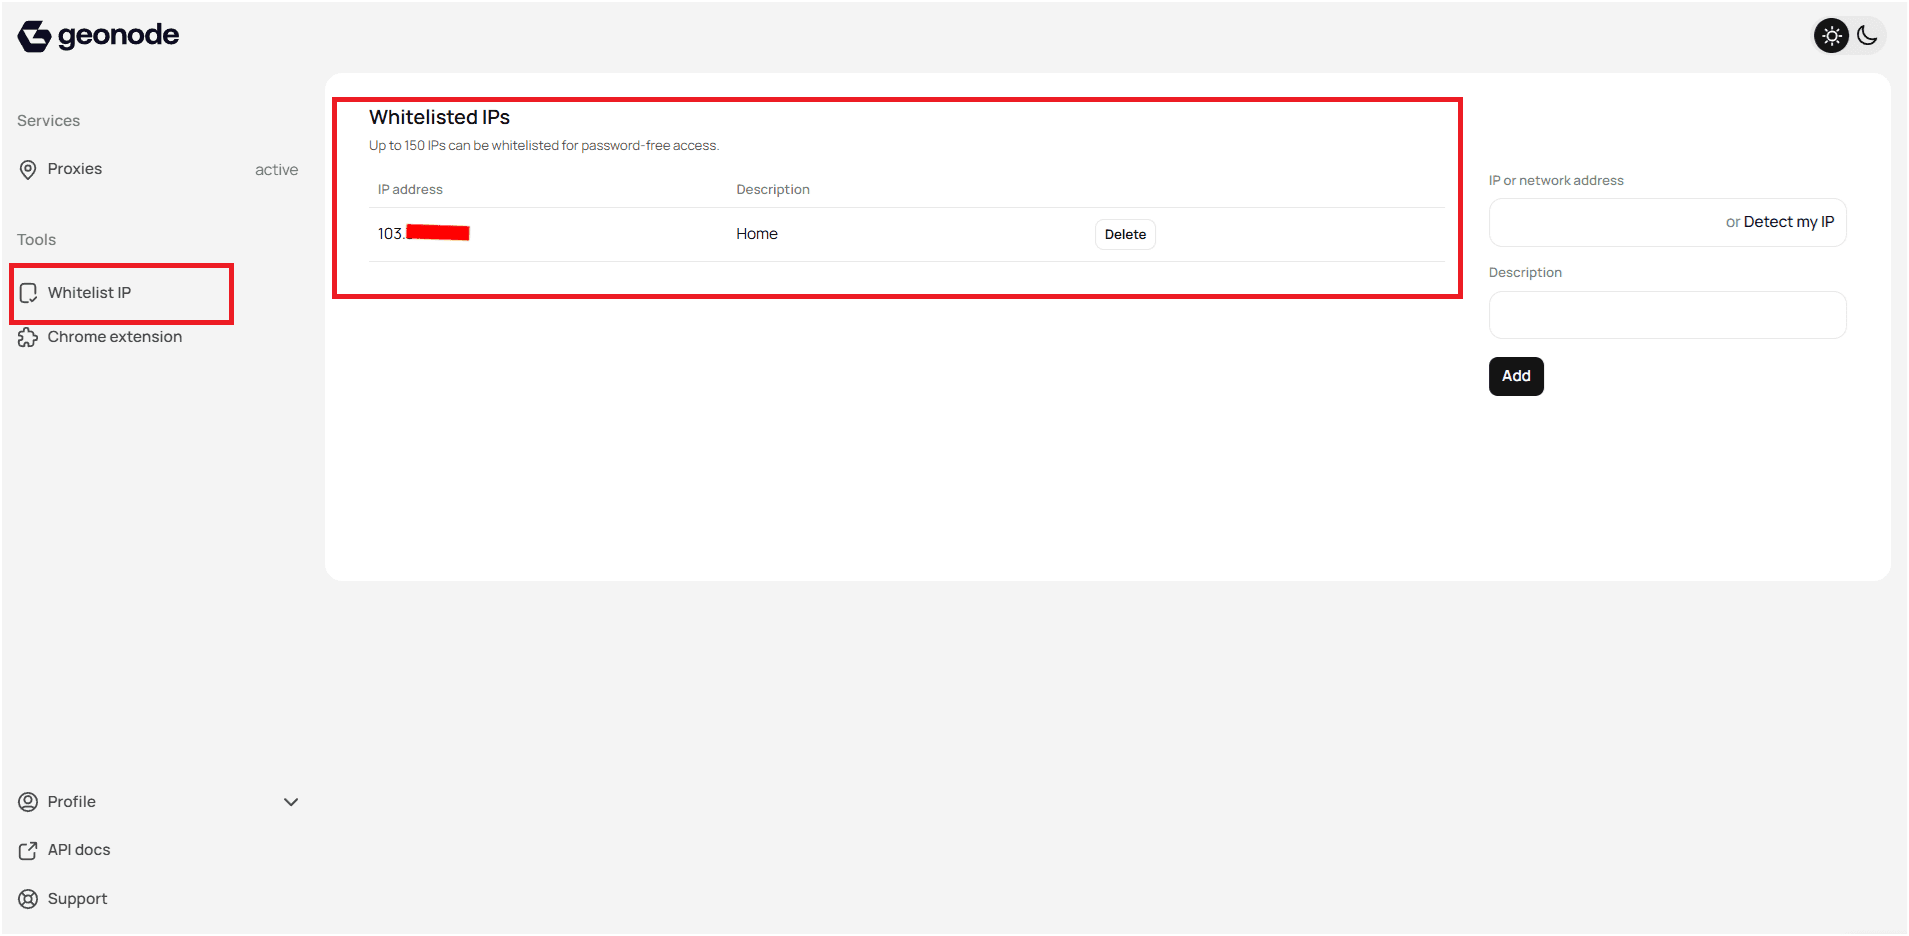
Verify that the IP appears in the table with correct details.
Remove an IP
-
Find the IP in the whitelist table.
-
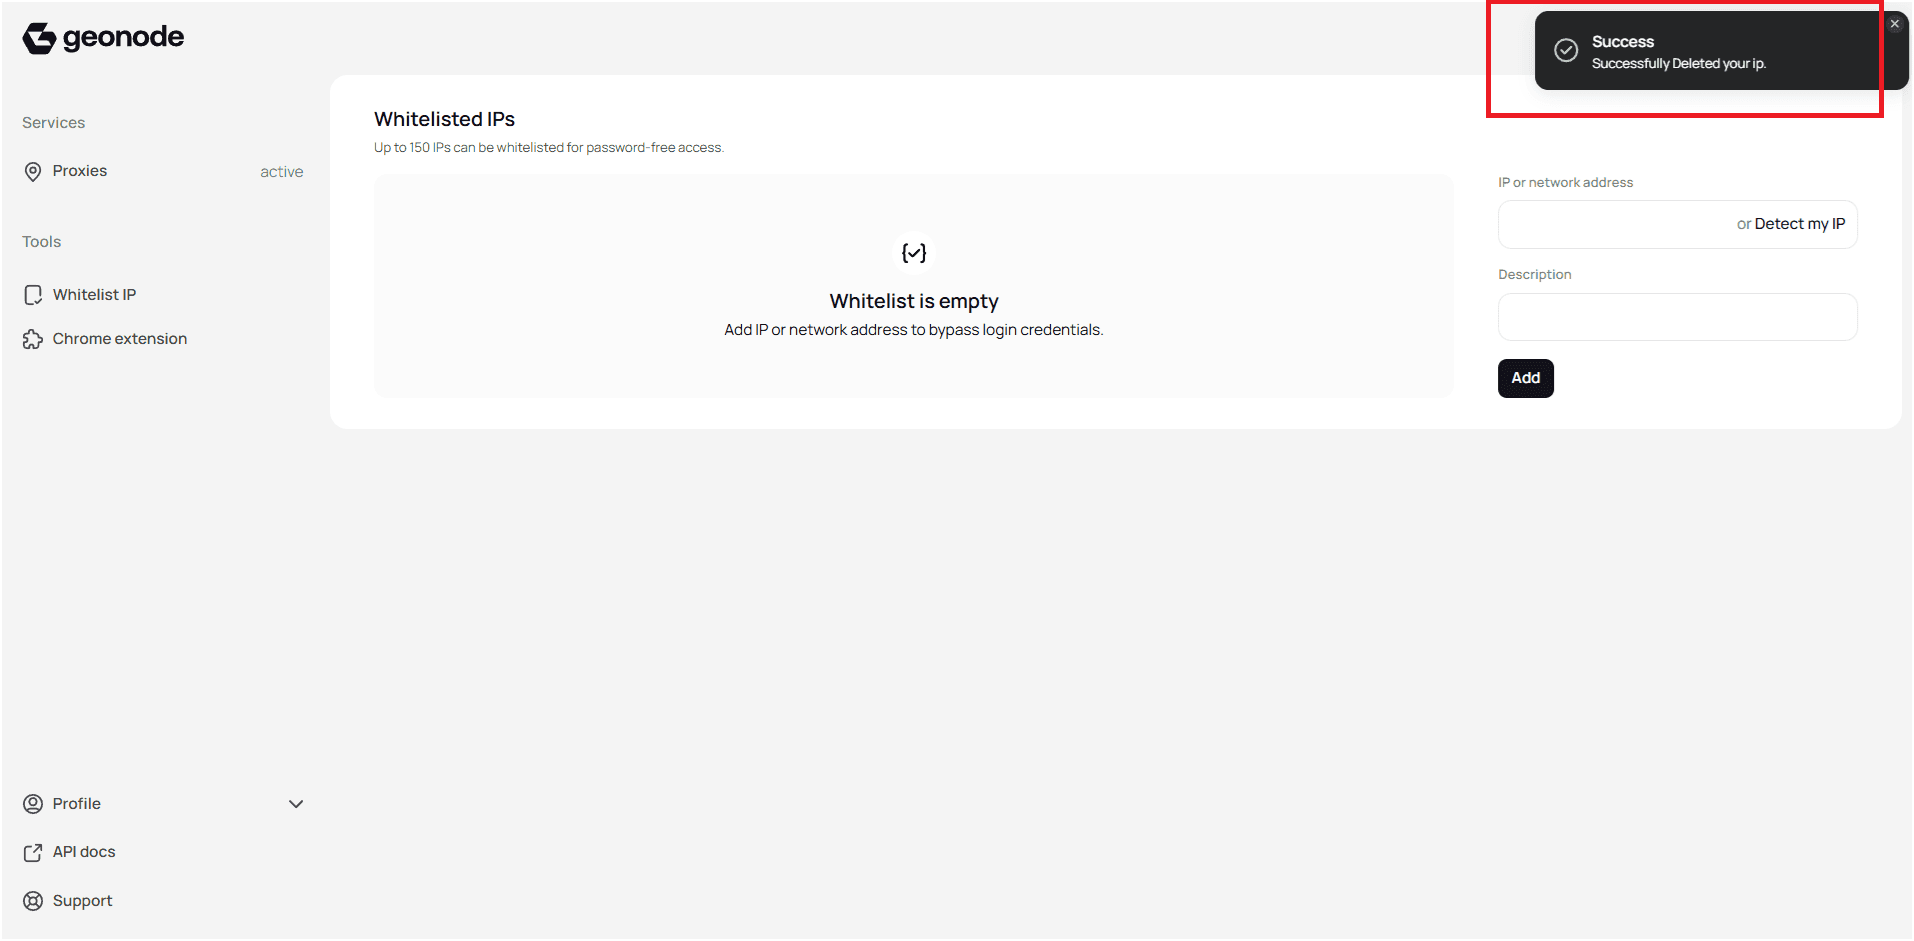
Click Delete next to the IP.
-
Confirm the deletion and check the notification.
Using the API
Available endpoints:
- Retrieve whitelisted IPs
GET - Add whitelisted IPs
POST - Update IP description
PUT - Remove whitelisted IPs
DELETE
For request/response formats and examples, see the Geonode API docs:
Geonode API Documentation
Verify Proxy Connection
To ensure the proxy is working, check your IP address using an online tool or follow this guide:
FAQs
If you encounter any issues, refer to the troubleshooting section or Geonode support.