GeeLark
This guide will help you configure a Geonode proxy in the GeeLark browser for both mobile and desktop profiles.
You’ll learn how to:
- Add and manage Geonode proxies in GeeLark
- Create mobile and desktop profiles
- Set up device environments
- Launch virtual profiles and test proxy connections
Prerequisites: Get Proxy Credentials from Geonode
Before setting up a proxy, first, retrieve your proxy credentials from the Geonode dashboard.
Follow this guide: How to Obtain Proxy Server Information
Setting Up a Proxy in GeeLark
Install GeeLark
- Go to the GeeLark Download Page.
- Download the version for your operating system.
- Install the software and create an account.
For Mobile Profiles
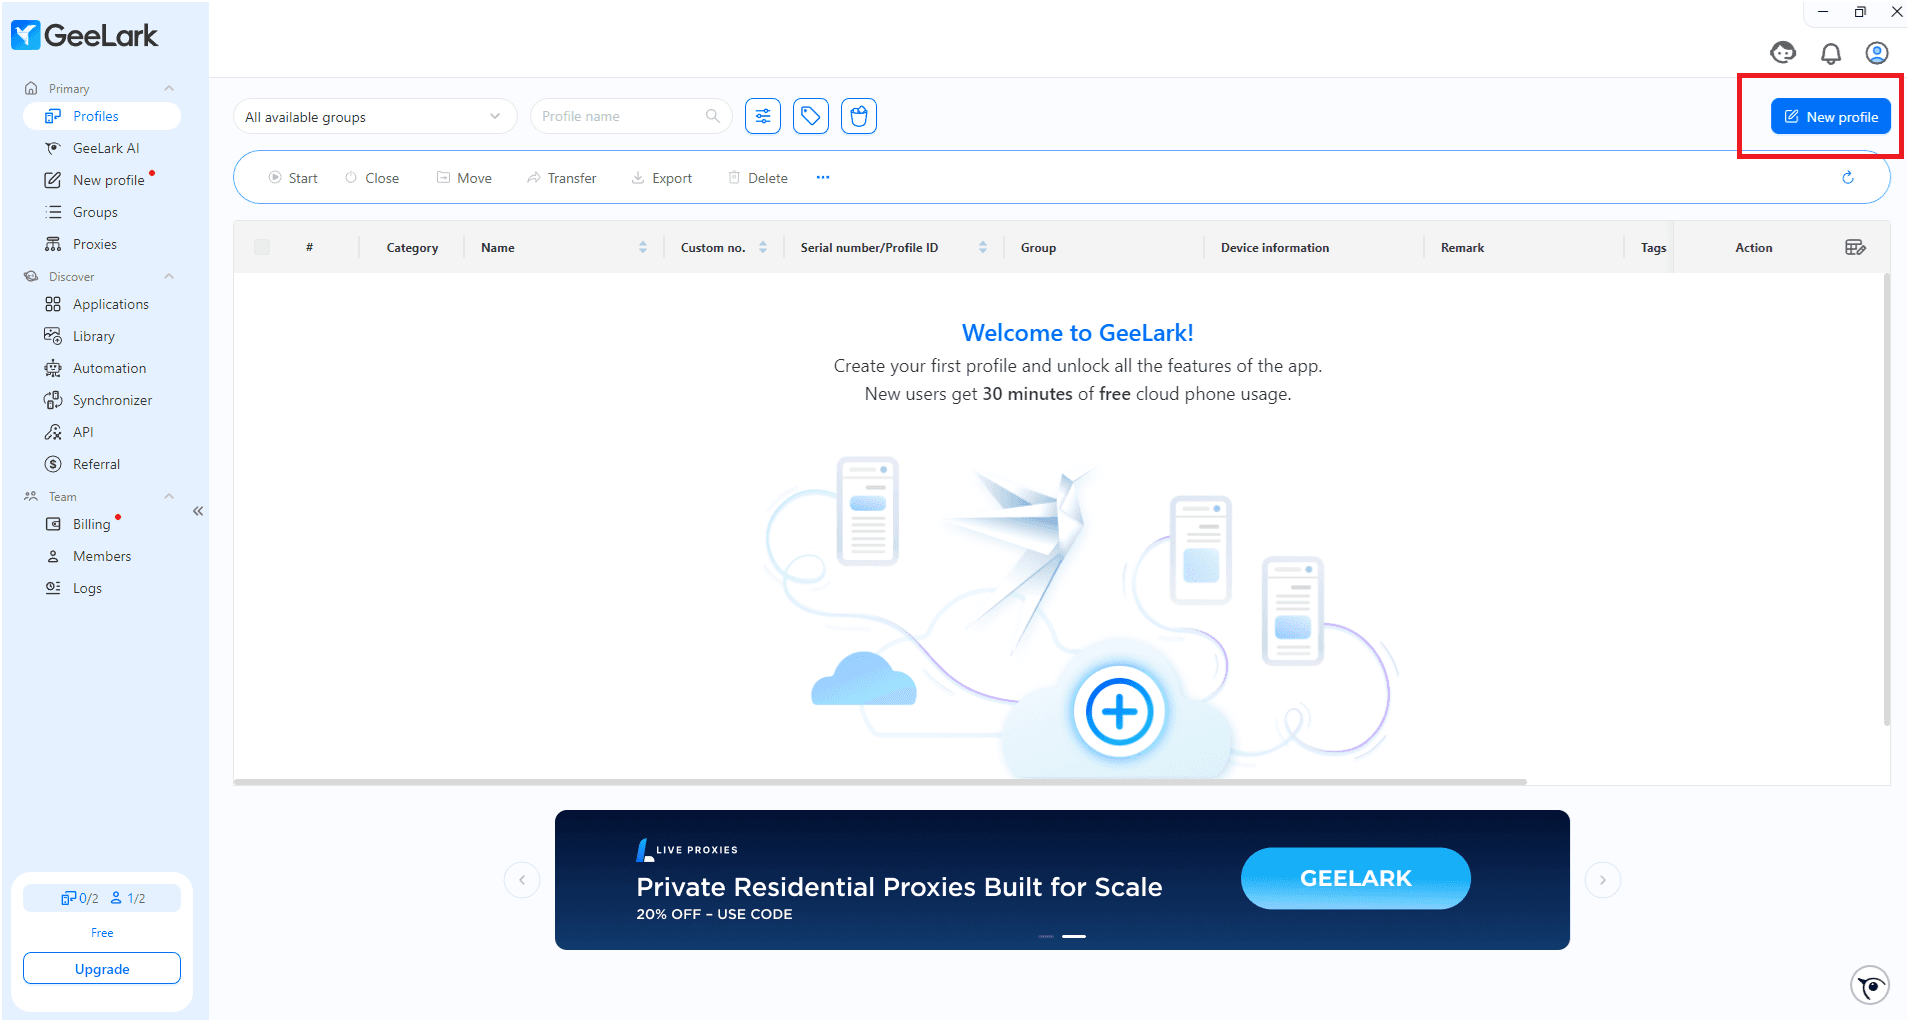
Create a New Profile
-
Open GeeLark and click New Profile.
-
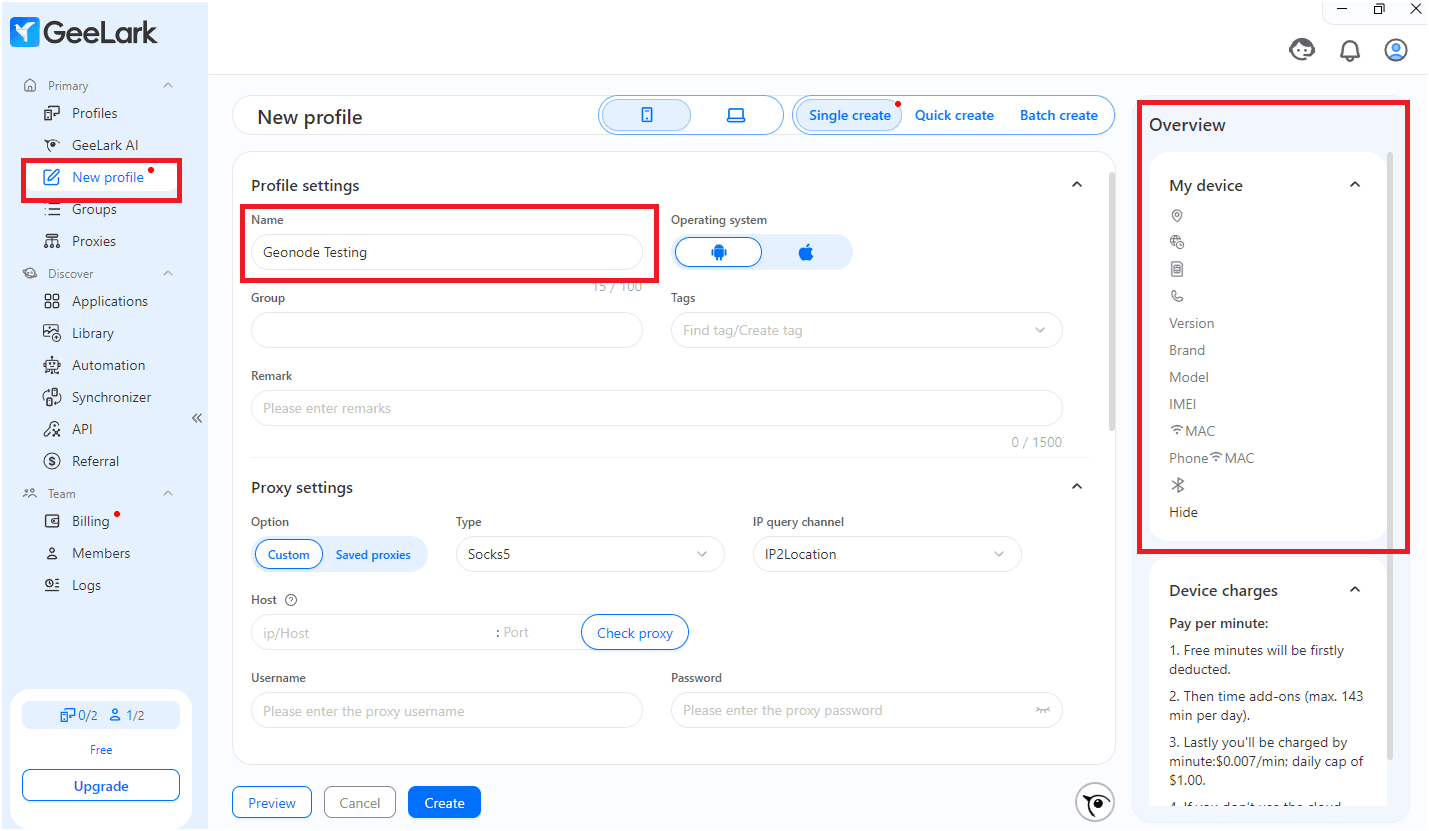
Enter the required details:
- Profile name
- Operating system
-
Review your browser details on the right side.
Add a Proxy
You can add proxies in two ways:
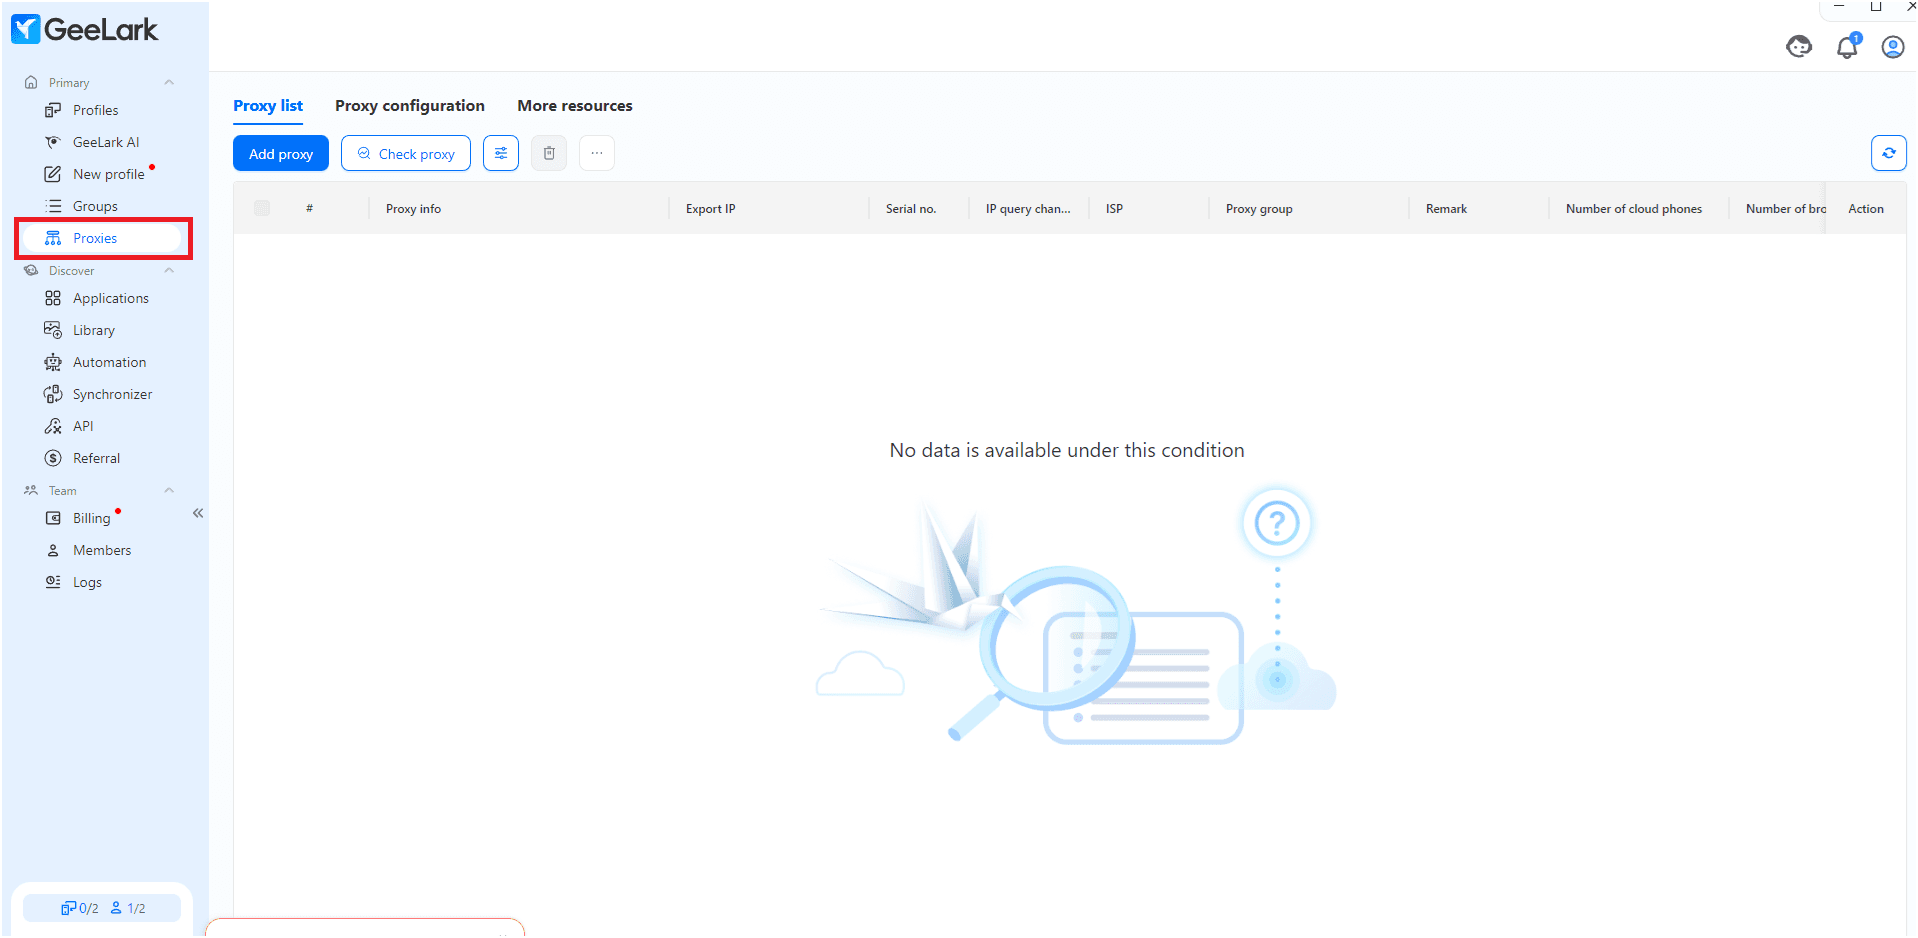
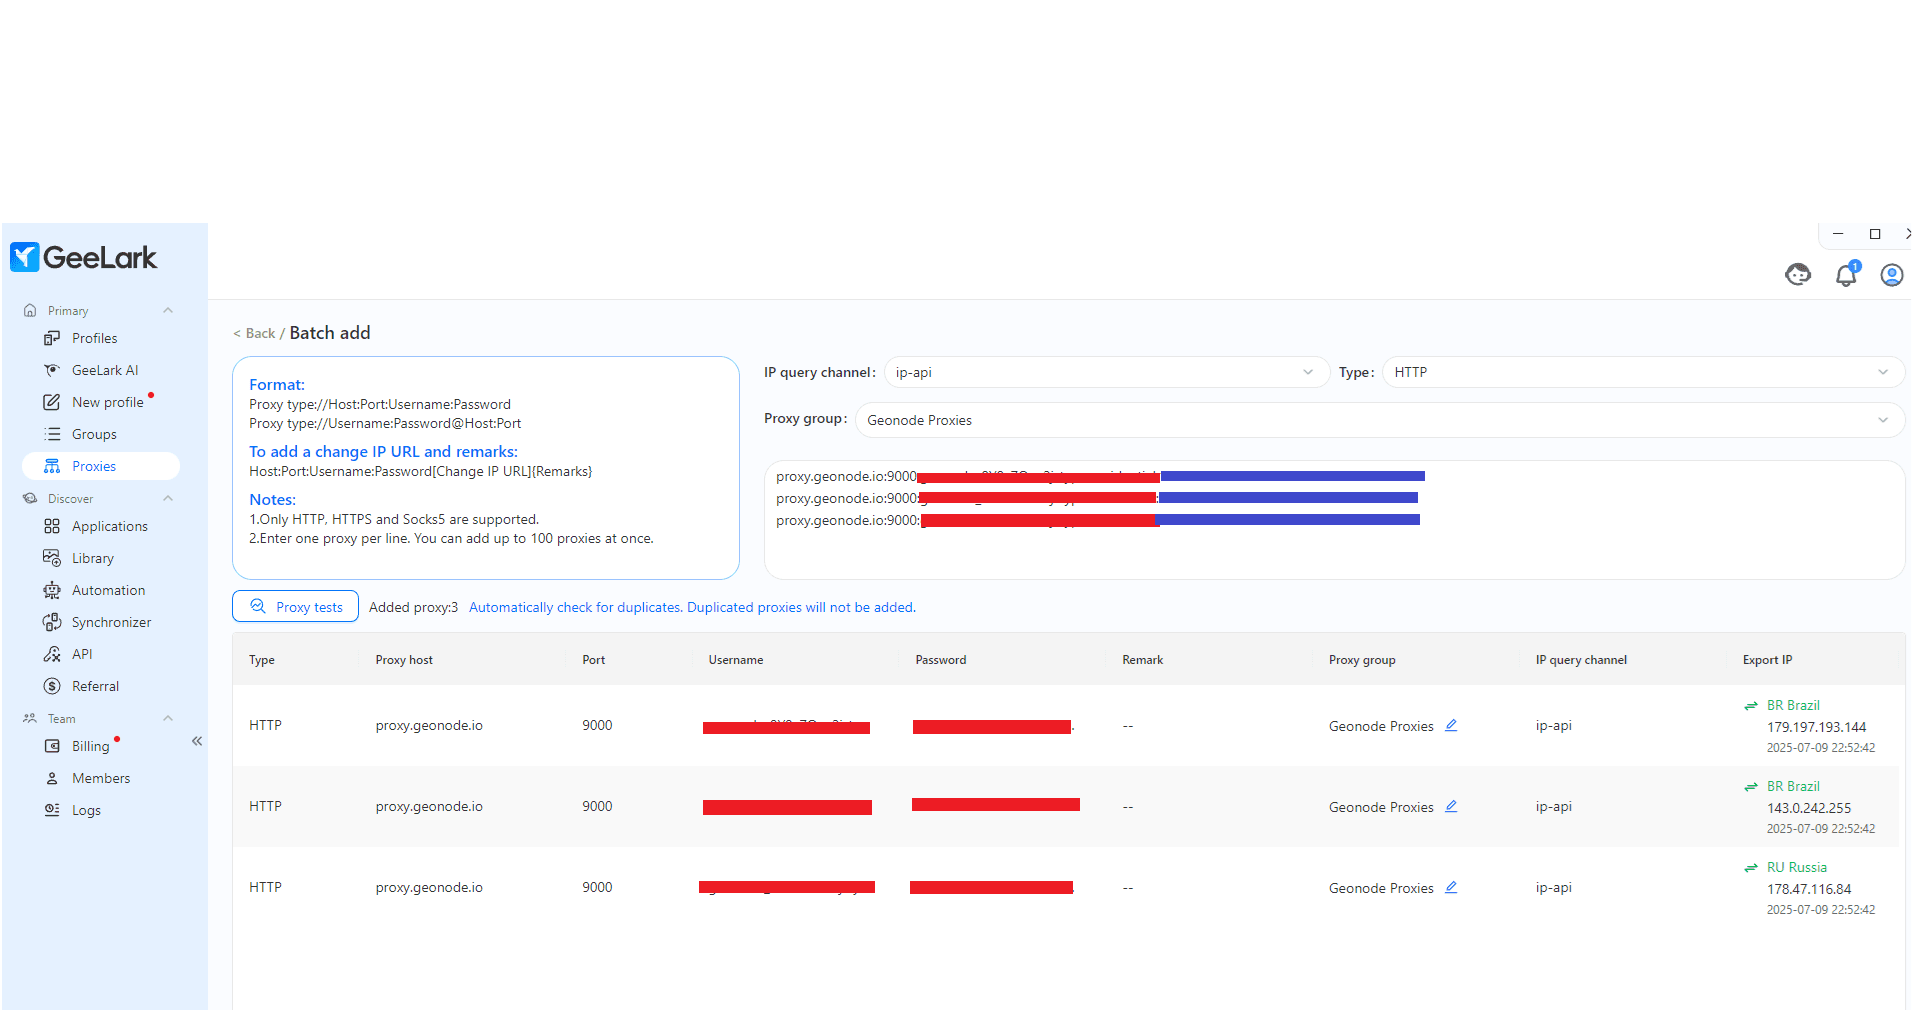
Option A: Add Proxies First (Recommended)
-
Go to the Proxies tab from the sidebar.
-
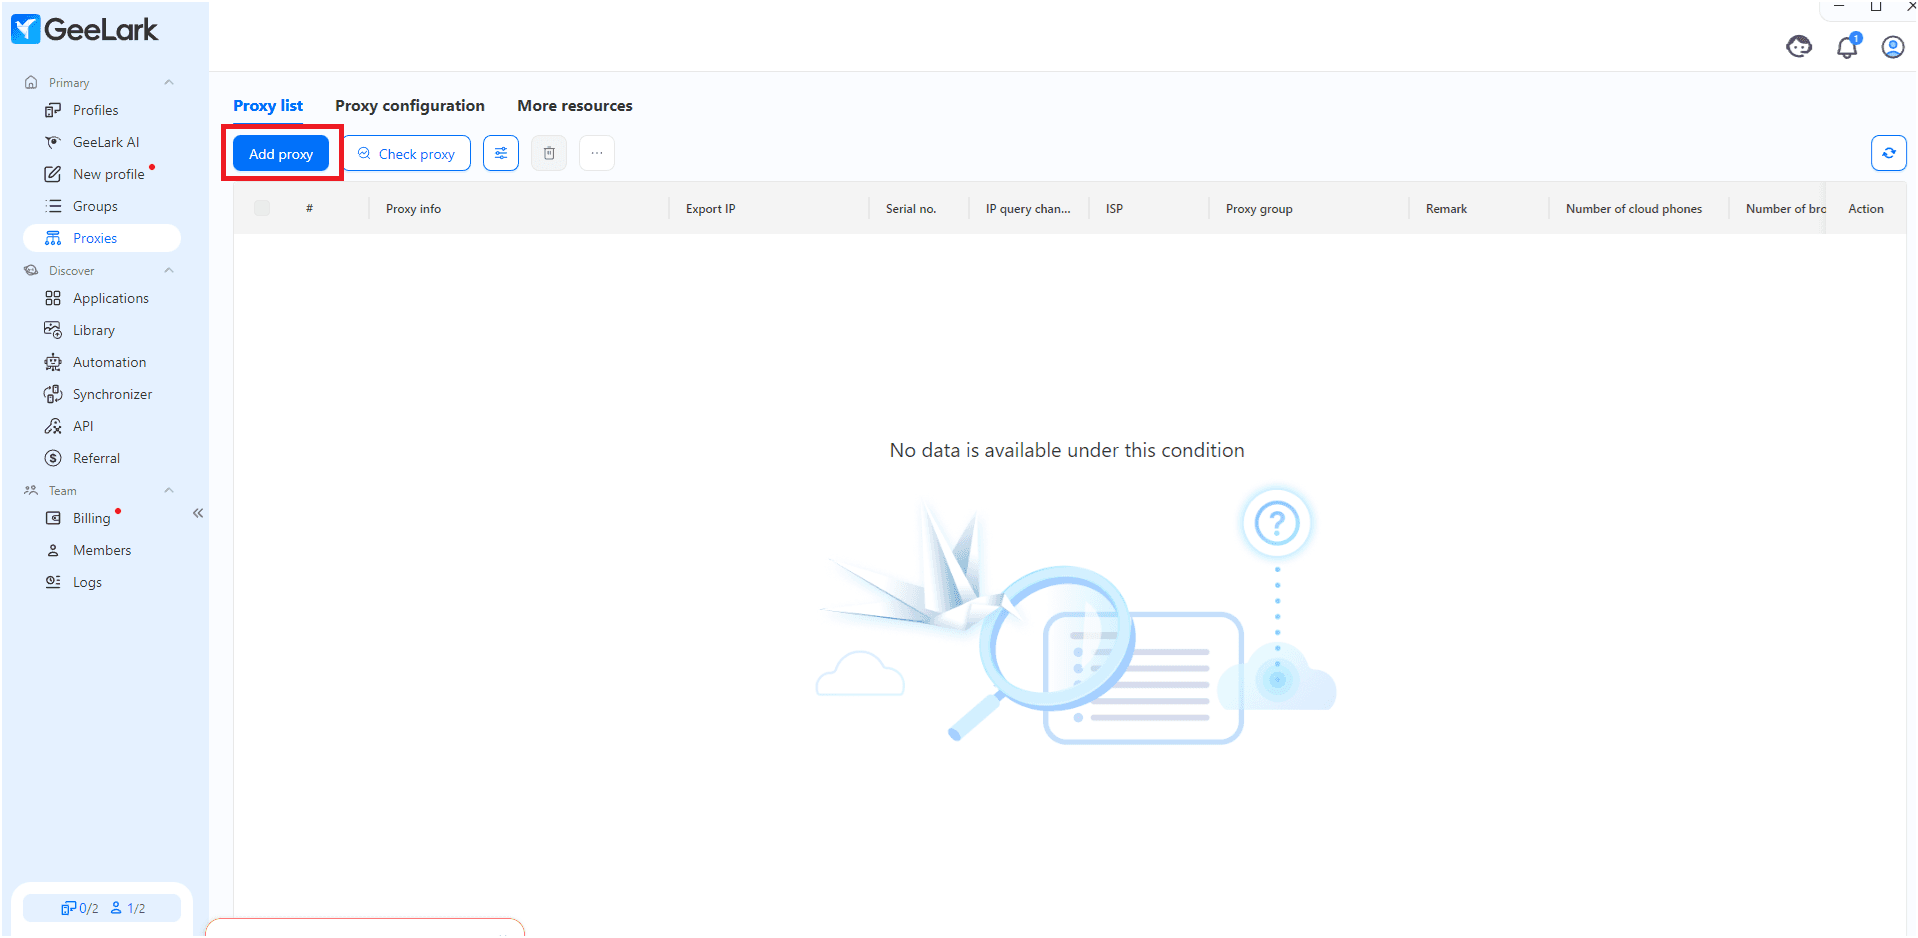
Click Add Proxy.
-
Enter your proxy in one of the following formats:
proxy.geonode.io:9000:geonode_username:passwordYou can also use:
username:password@host:portOr
http://username:password@proxy.geonode.io:9000 -
Select:
- Type: HTTP
- Proxy group: e.g., “Geonode Proxies”
- IP Query Channel: use
ip-apifor geolocation checks
- Add one proxy per line (up to 100).
- Test them using Proxy Tests to confirm connectivity — green icons indicate success.
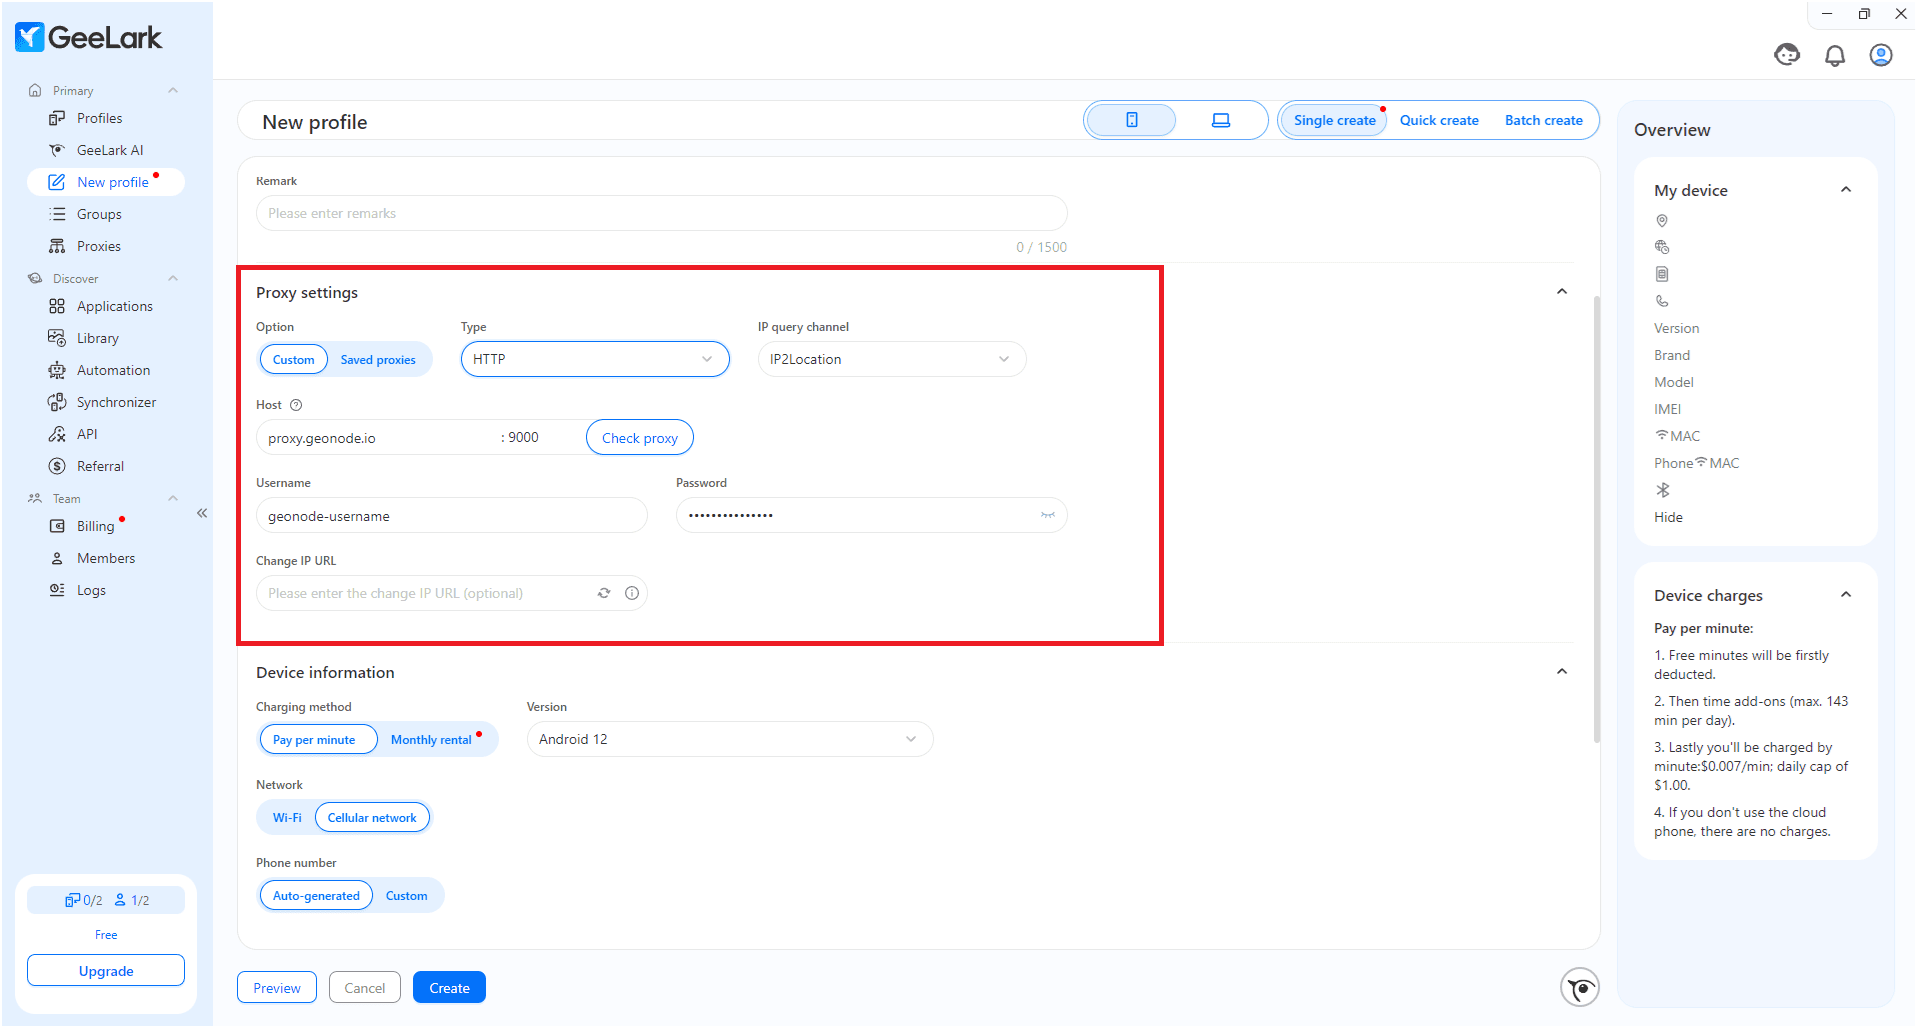
Option B: Add Proxy During Profile Creation
- While creating a profile, go to the Proxy tab.
- Choose the connection type (e.g., HTTP).
- Enter:
- Proxy (IP:Port)
- Username
- Password
- Set IP Query Channel (e.g.,
ip-api) and click Check Proxy.
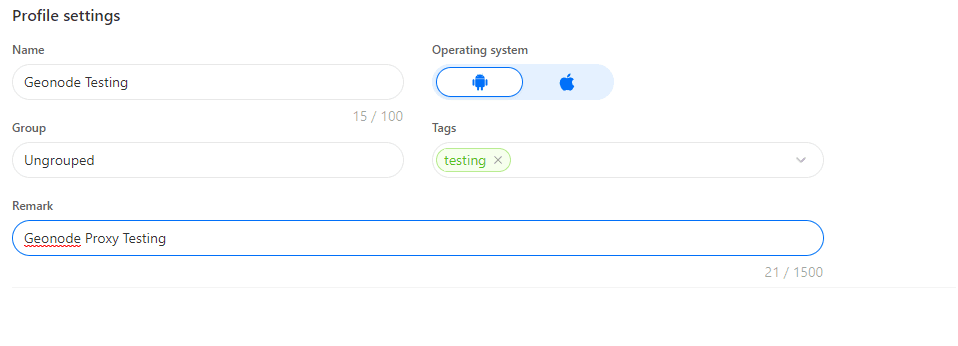
Configure Profile Settings
- Under Profile Settings, set:
- Profile name
- Operating system (Android or iOS)
- Group, tags, remark (optional)
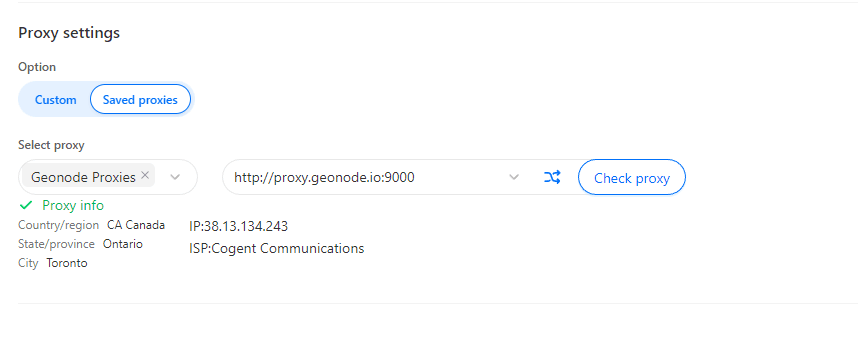
- Add the proxy:
- Custom Proxy: enter host, port, username, password
- Saved Proxy: choose from a pre-added list

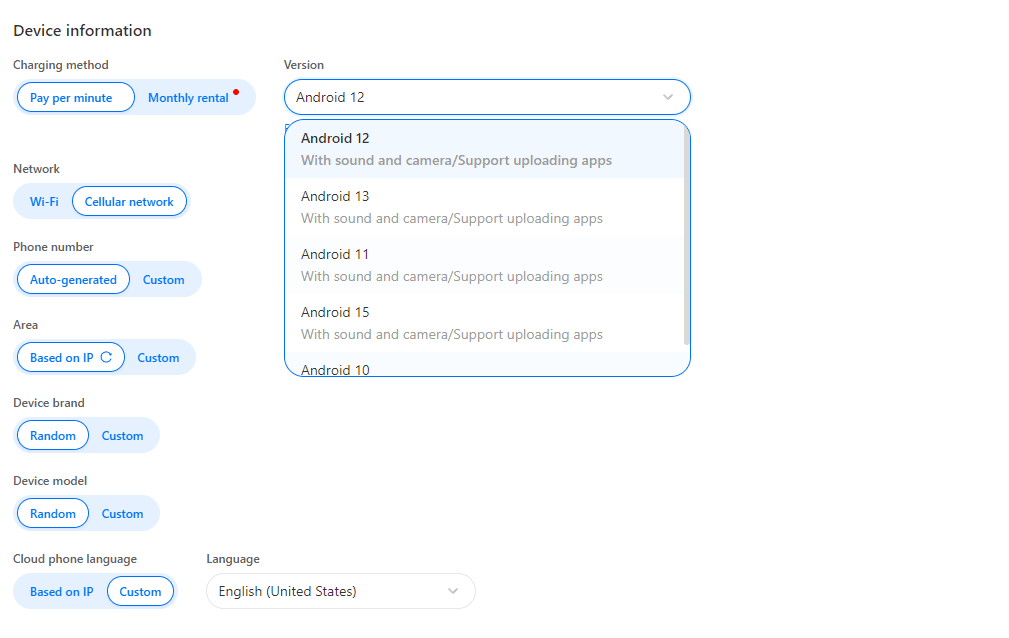
Configure Device Information
Under Device Information, you can simulate mobile hardware and network behavior:
- Charging Method: pay per minute or monthly
- Android version: e.g., 12–15
- Network: Wi-Fi or Cellular
- Phone number: auto or custom
- Area, Device Brand, Language: auto or manual
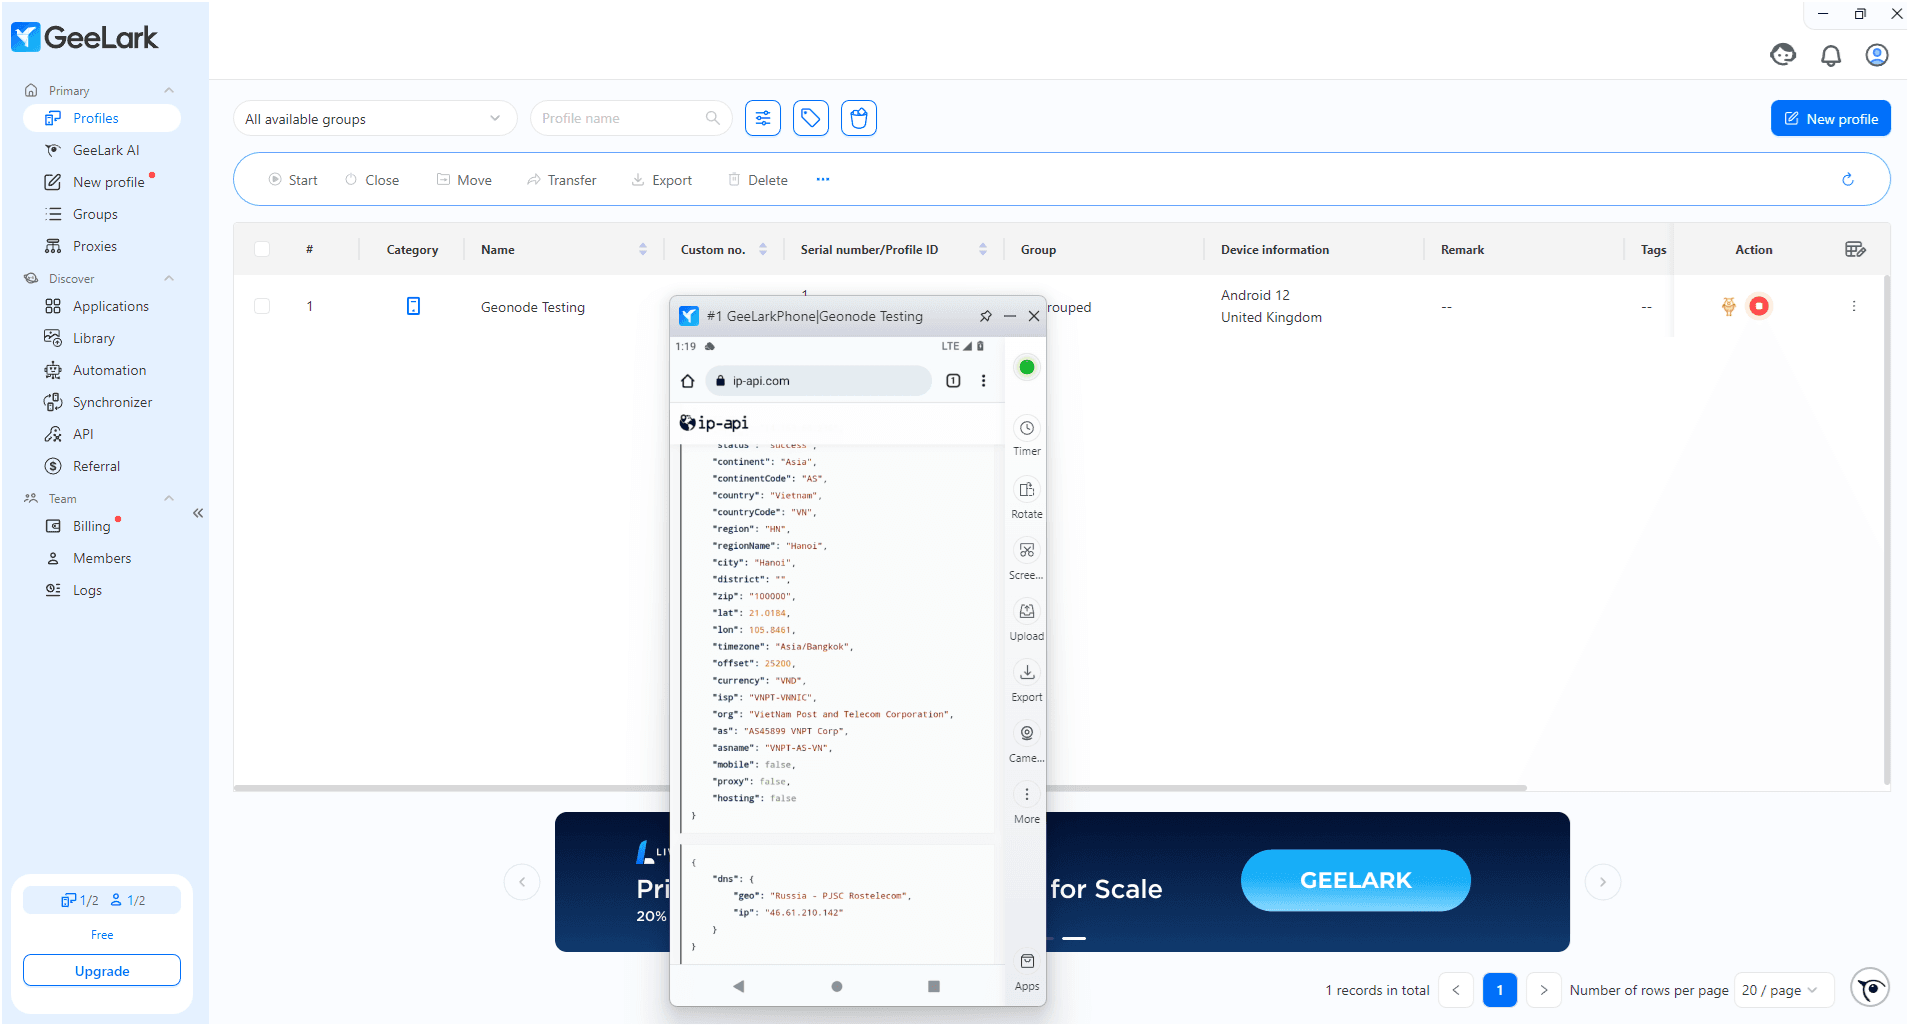
Create and Launch the Profile
- Click Create to save the profile.
- The profile appears in your list — showing OS, proxy region, tags, etc.
- Click the Action (▶️) button to launch.
- A new window opens — visit ip-api.com to verify your IP and proxy location.
For Desktop Profiles
Create a New Desktop Profile
- In GeeLark, click New Profile, then switch to the desktop icon (🖥️).
- Under Profile Settings, configure:
- Profile name
- Group / tags / remark
- Operating system (Windows or macOS)
- Browser (e.g., Kiwi)
- User-Agent (auto or custom)
- Optional cookies for session import

Set Proxy for Desktop Profile
You can either:
- Use a Custom Proxy, or
- Select a Saved Proxy (from the “Geonode Proxies” group).
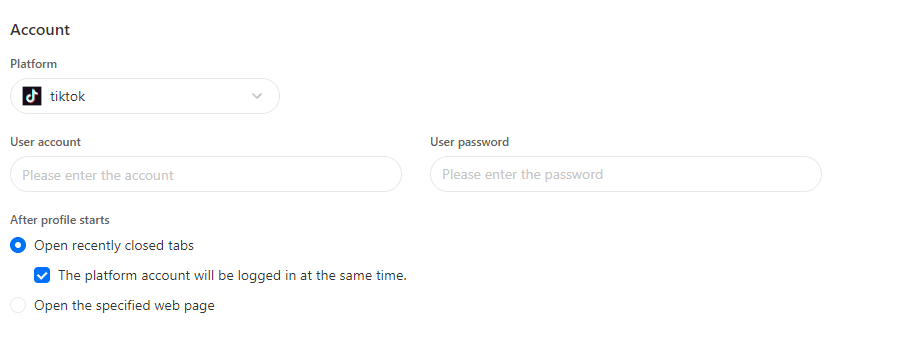
Optional: Account Settings
Configure:
- Platform credentials (if needed)
- Startup behavior (e.g., reopen tabs, open custom page)
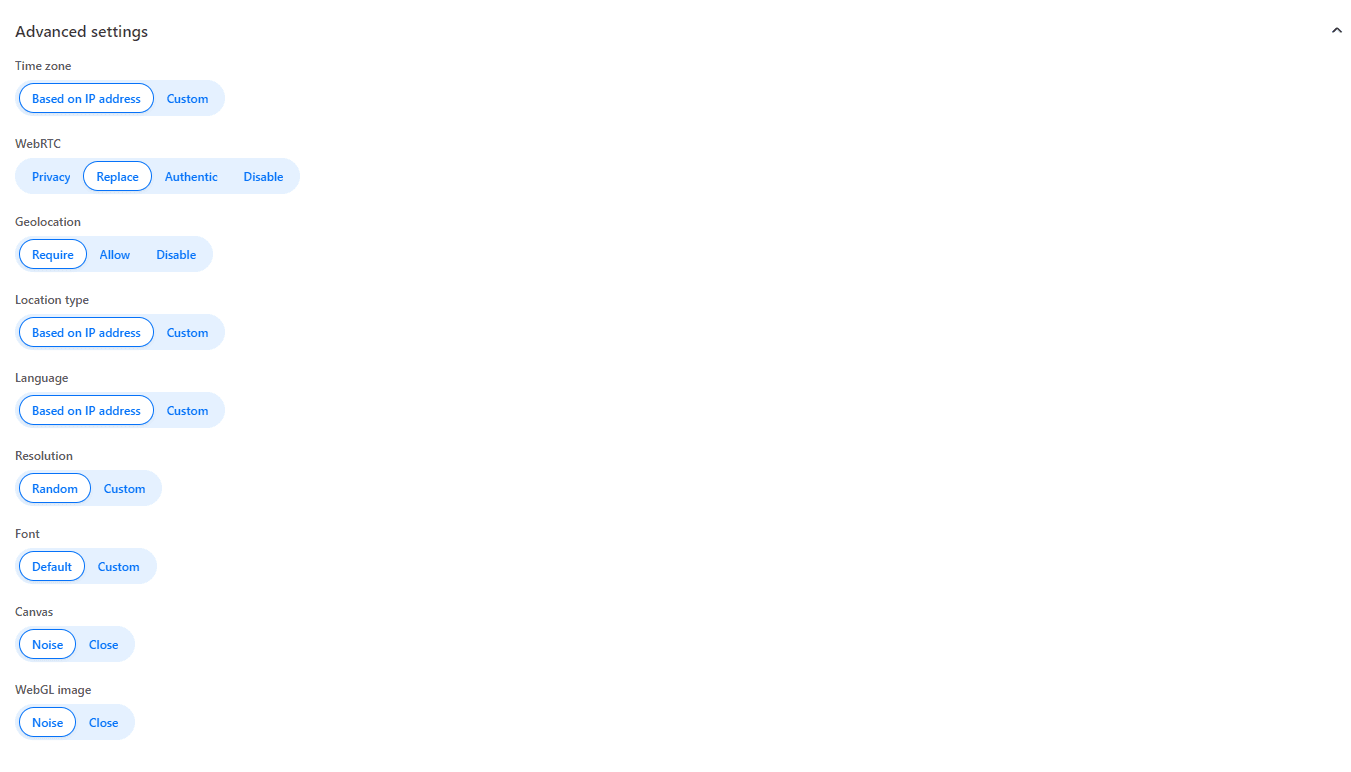
Optional: Advanced Settings
Fine-tune fingerprinting and device behavior:
- Time zone, language, geolocation
- WebRTC, Canvas, WebGL, AudioContext
- Resolution, fonts, storage, noise controls
- Device hardware and network simulation
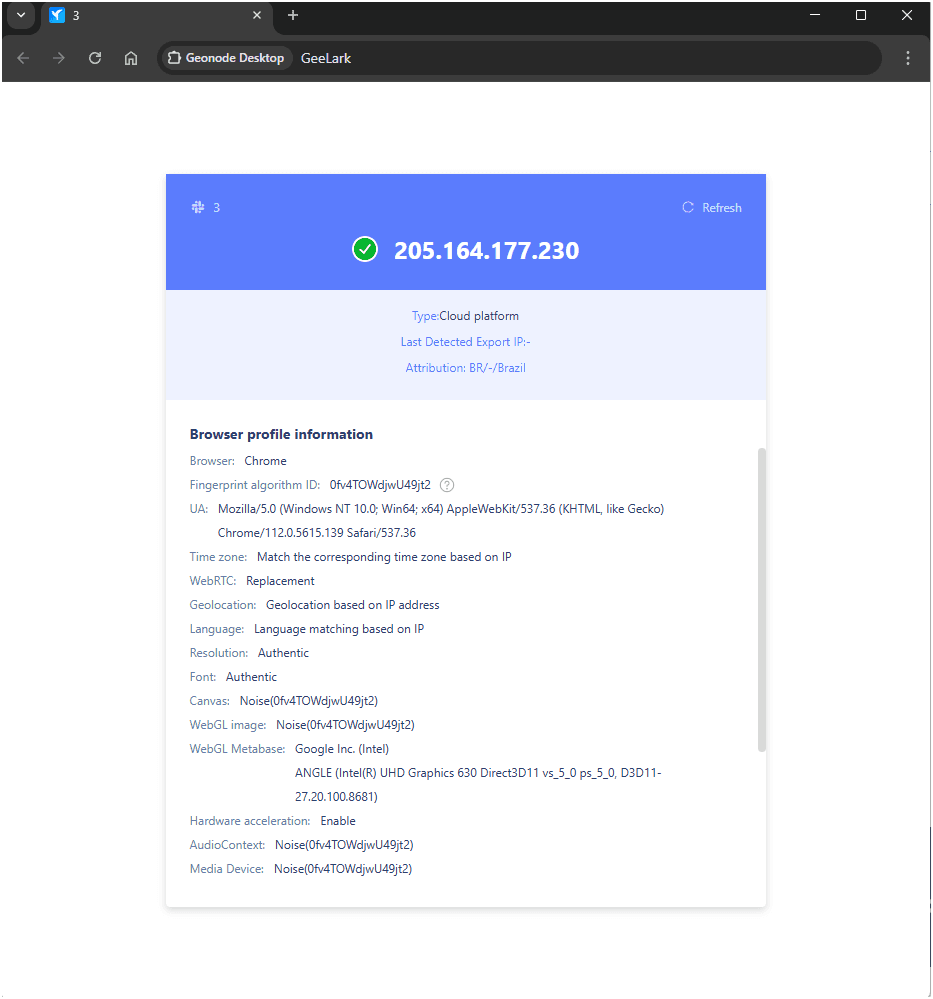
Review Device Information
The right-hand panel summarizes fingerprint and environment settings:
- Browser, OS, User-Agent
- Time zone, WebRTC, language, Canvas, WebGL
- Fonts, resolution, and more
You can click Generate New Fingerprint to randomize your identity.

Launch the Desktop Profile
- Click Create to save.
- The new profile appears in your list.
- Click the Action (▶️) button to launch.
- Visit ip-api.com to confirm your Geonode proxy is active.
If you encounter any issues, refer to the troubleshooting section or Geonode support.