Browsers
GoLogin
This guide will help you configure a Geonode proxy in the GoLogin browser.
Prerequisites: Get Proxy Credentials from Geonode
Before setting up a proxy, first, retrieve your proxy credentials from the Geonode dashboard.
Follow this guide: How to Obtain Proxy Server Information
Setting Up a Proxy in GoLogin
Install GoLogin
- Go to the GoLogin Download Page.
- Download the version for your operating system.
- Install the software and create an account.
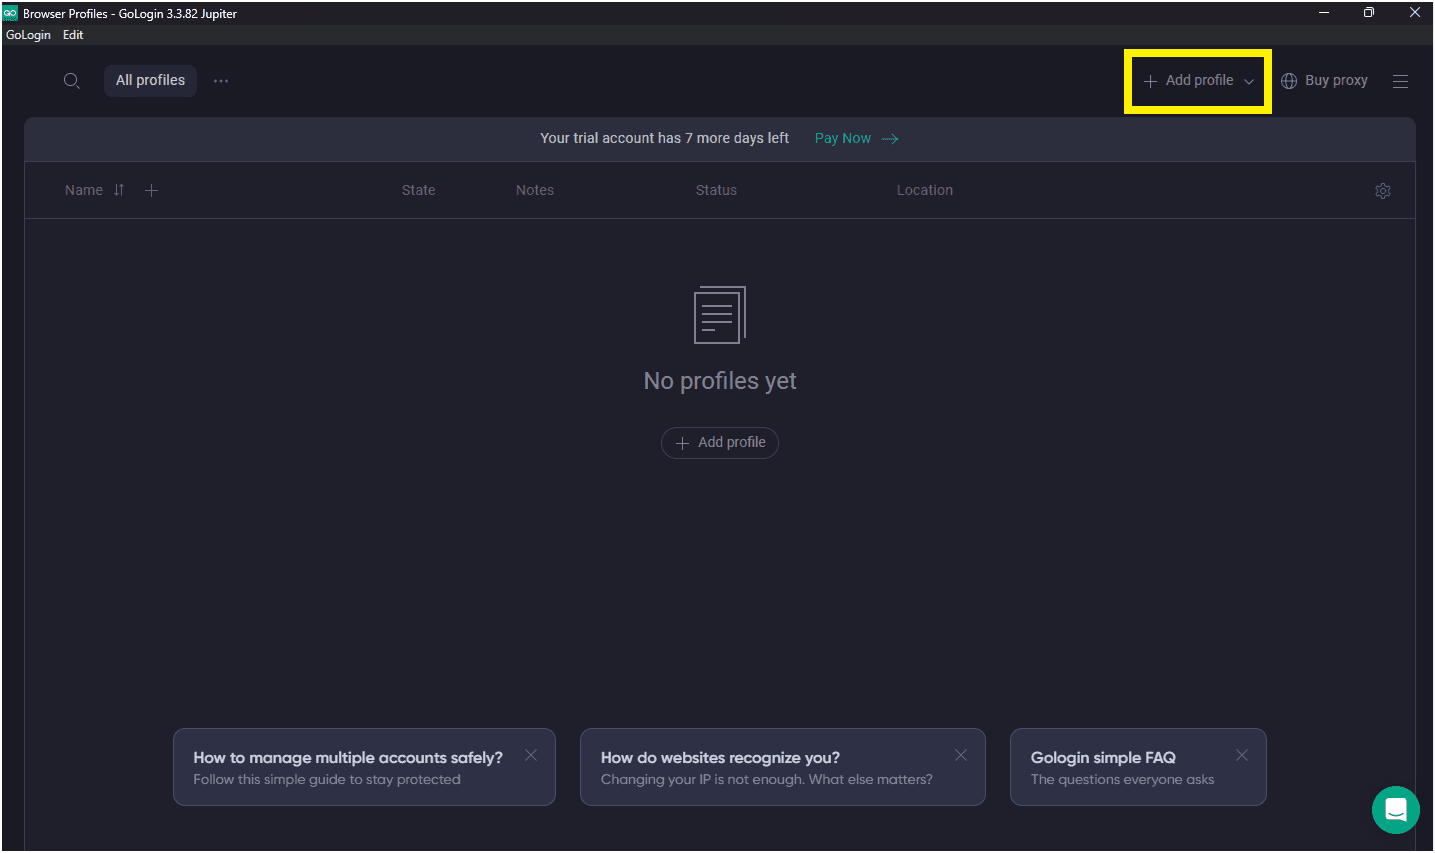
Create a New Profile
-
Open GoLogin and click Add Profile.
-
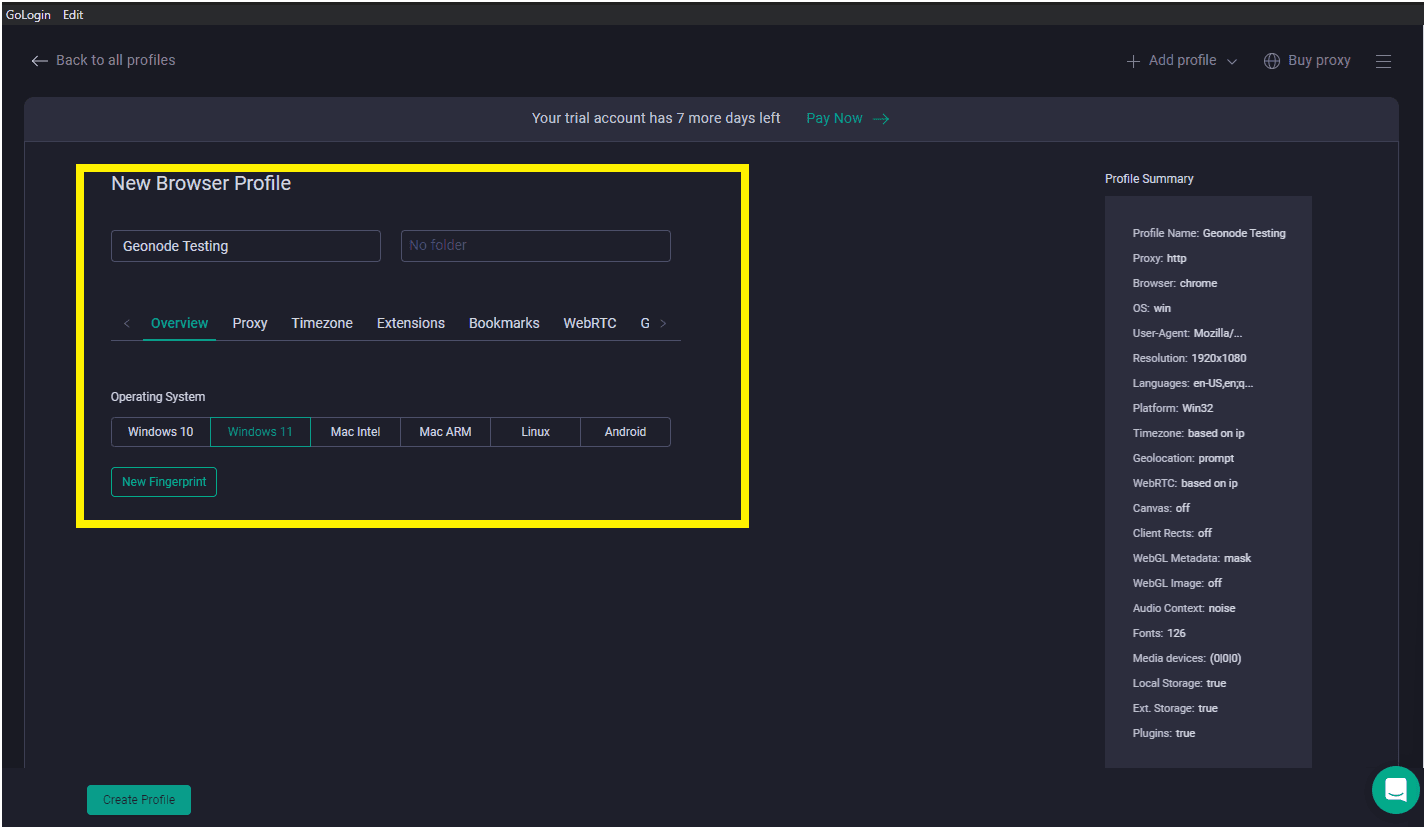
Enter the required details:
- Profile name
- Operating system
-
(Optional) Randomize the fingerprint for extra security.
-
Review your browser details on the right.
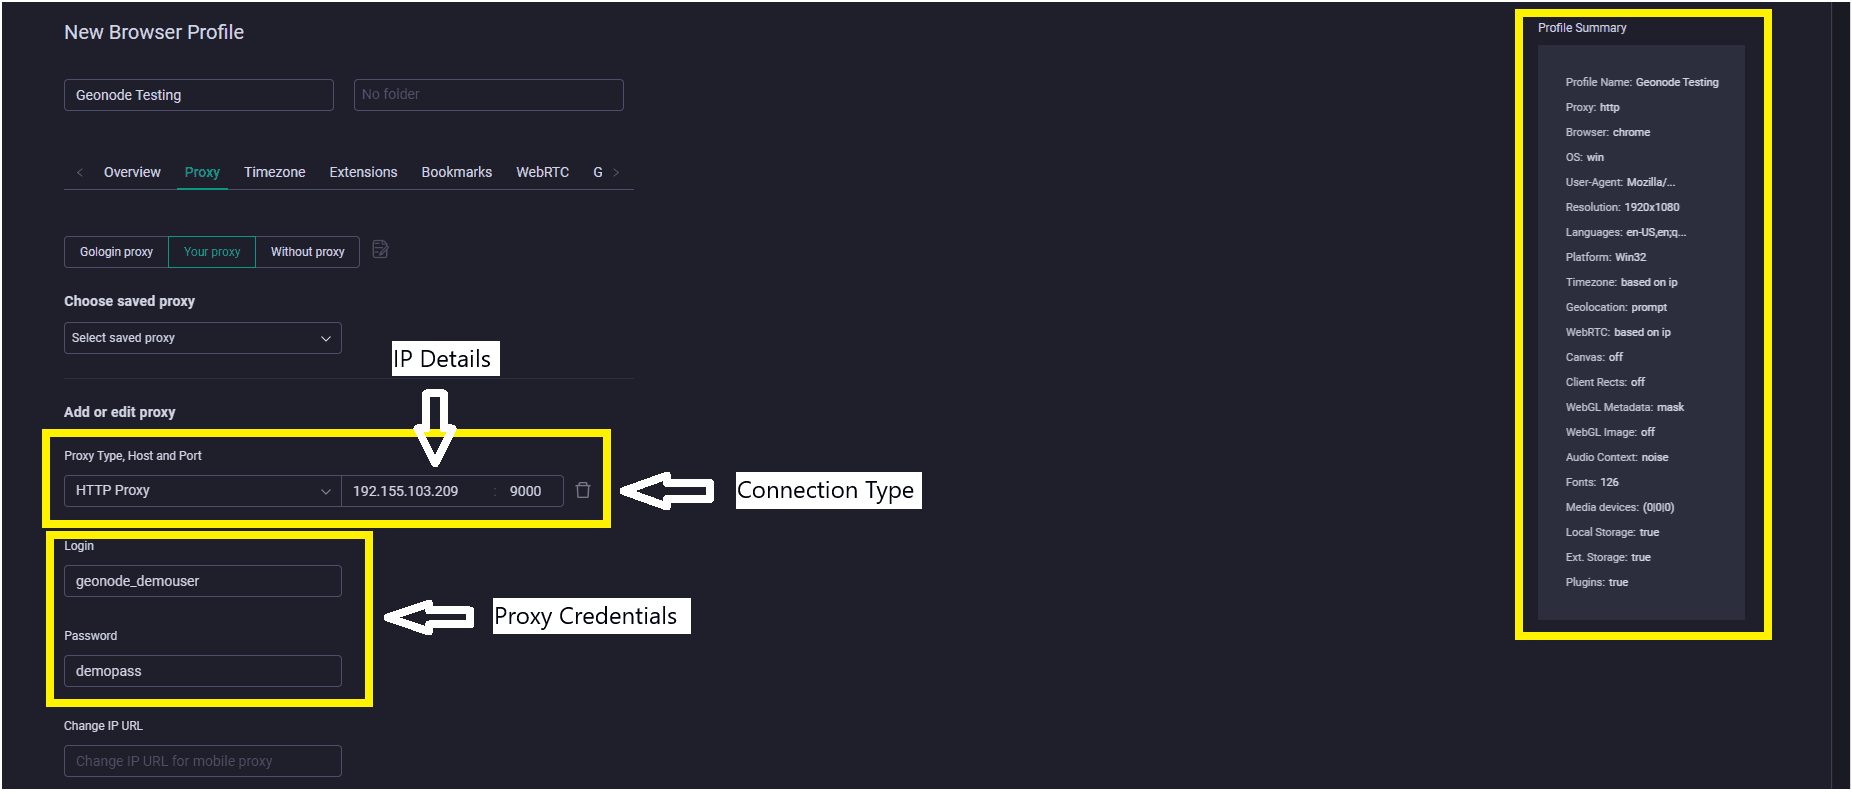
Add Proxy Details
- Go to the Proxy tab.
- Choose the connection type — for this guide, select HTTP.
- Enter your proxy credentials:
- Proxy (IP:Port)
- Username
- Password
- Click Create Profile to save the settings.
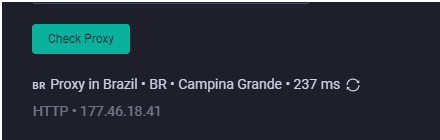
Test the Proxy Connection
- Click Check Proxy to verify the connection.
- If successful, the proxy will show as active.
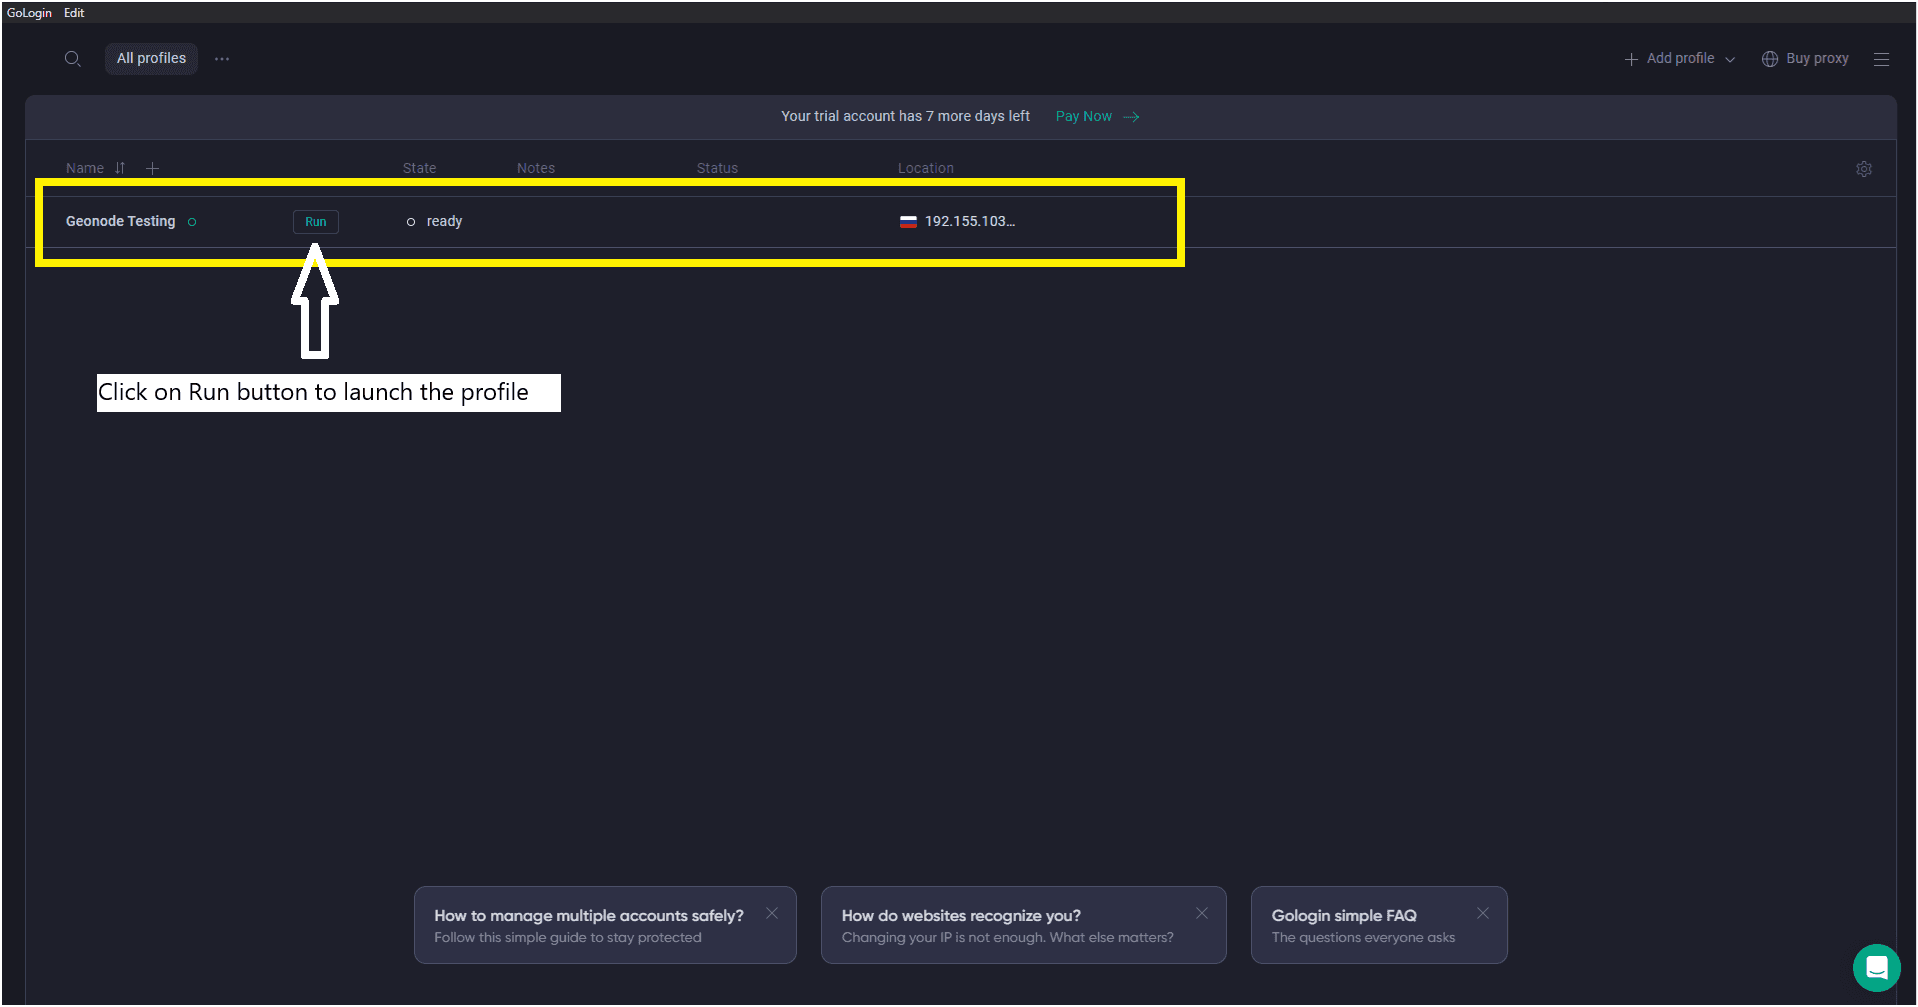
Launch the Profile
-
Once created, the profile will appear in your list.
- If the proxy displays a location, it means it’s active.
- If the proxy displays a location, it means it’s active.
-
Click Start to launch the browser with your configured proxy.
-
Visit
http://ip-api.com/jsonto verify your IP and proxy location.
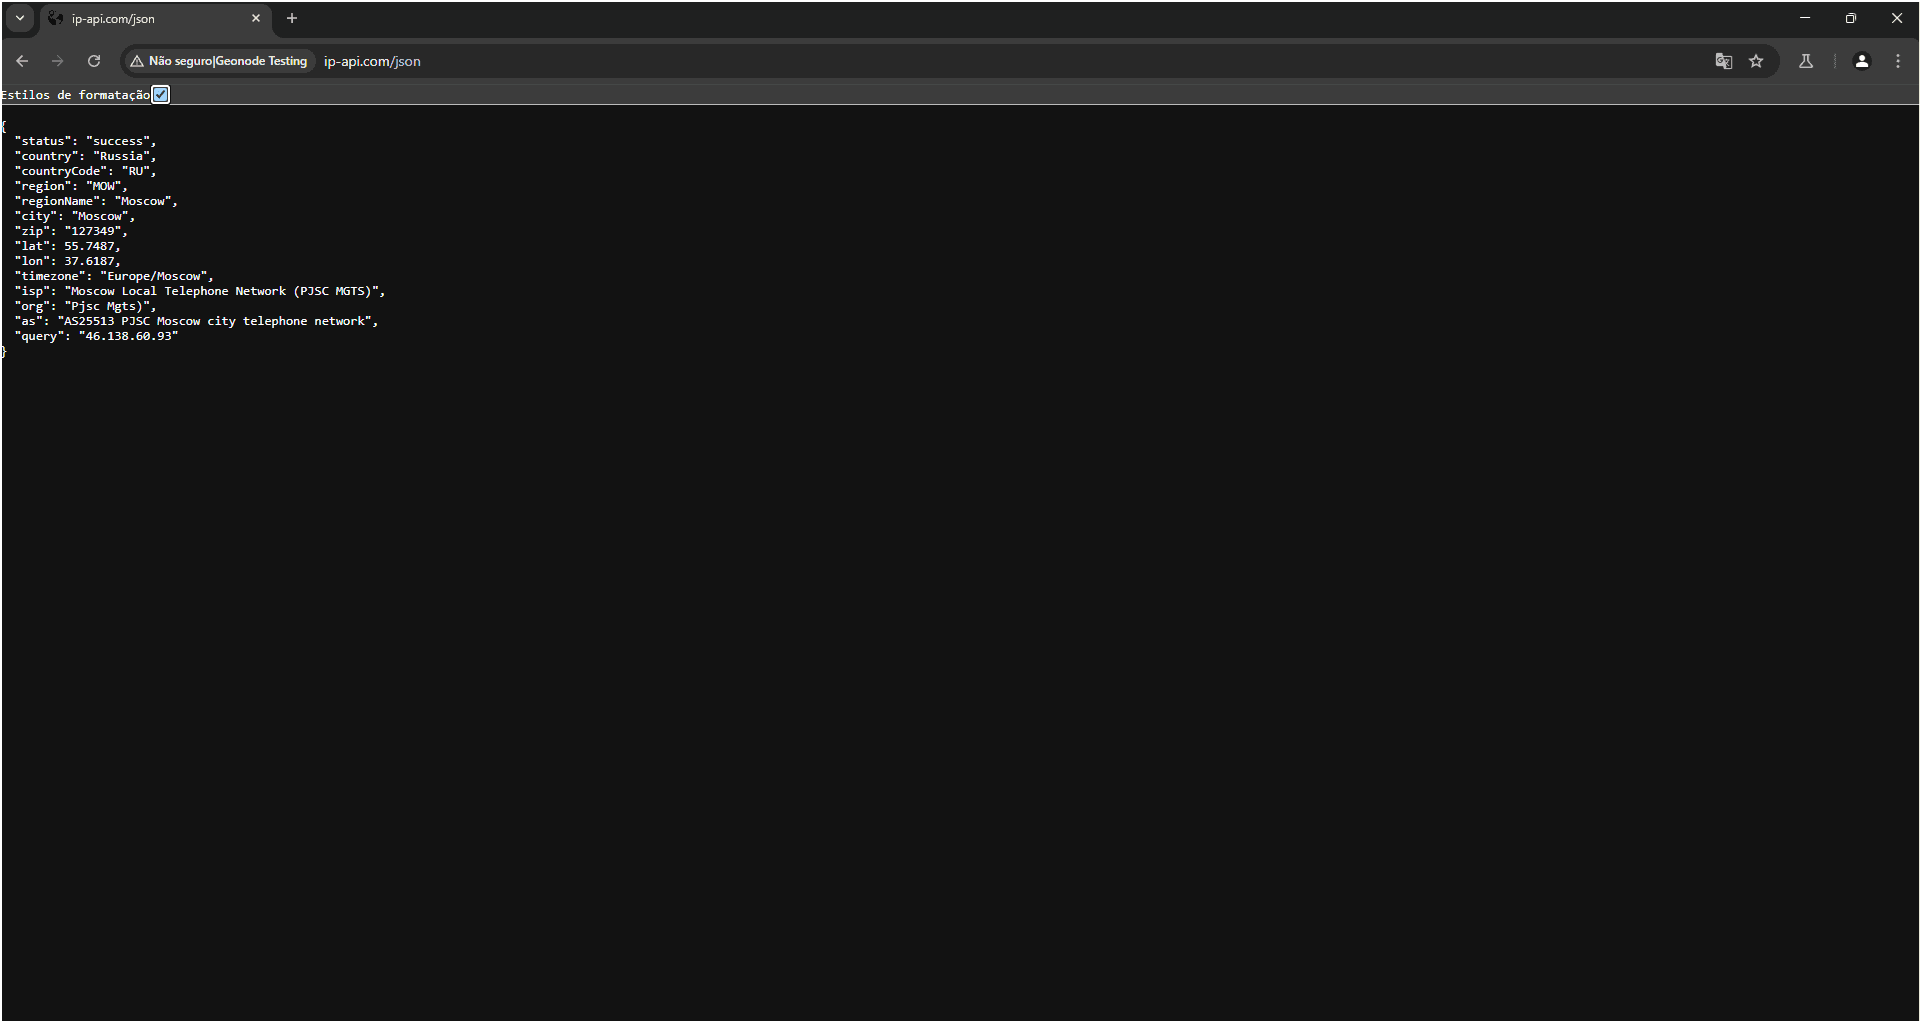
Your Geonode proxy is now successfully configured in GoLogin.
If you encounter any issues, refer to the troubleshooting section or Geonode support.